

Consumption
Building a Modular Pocketbook Thingy [wb-001]
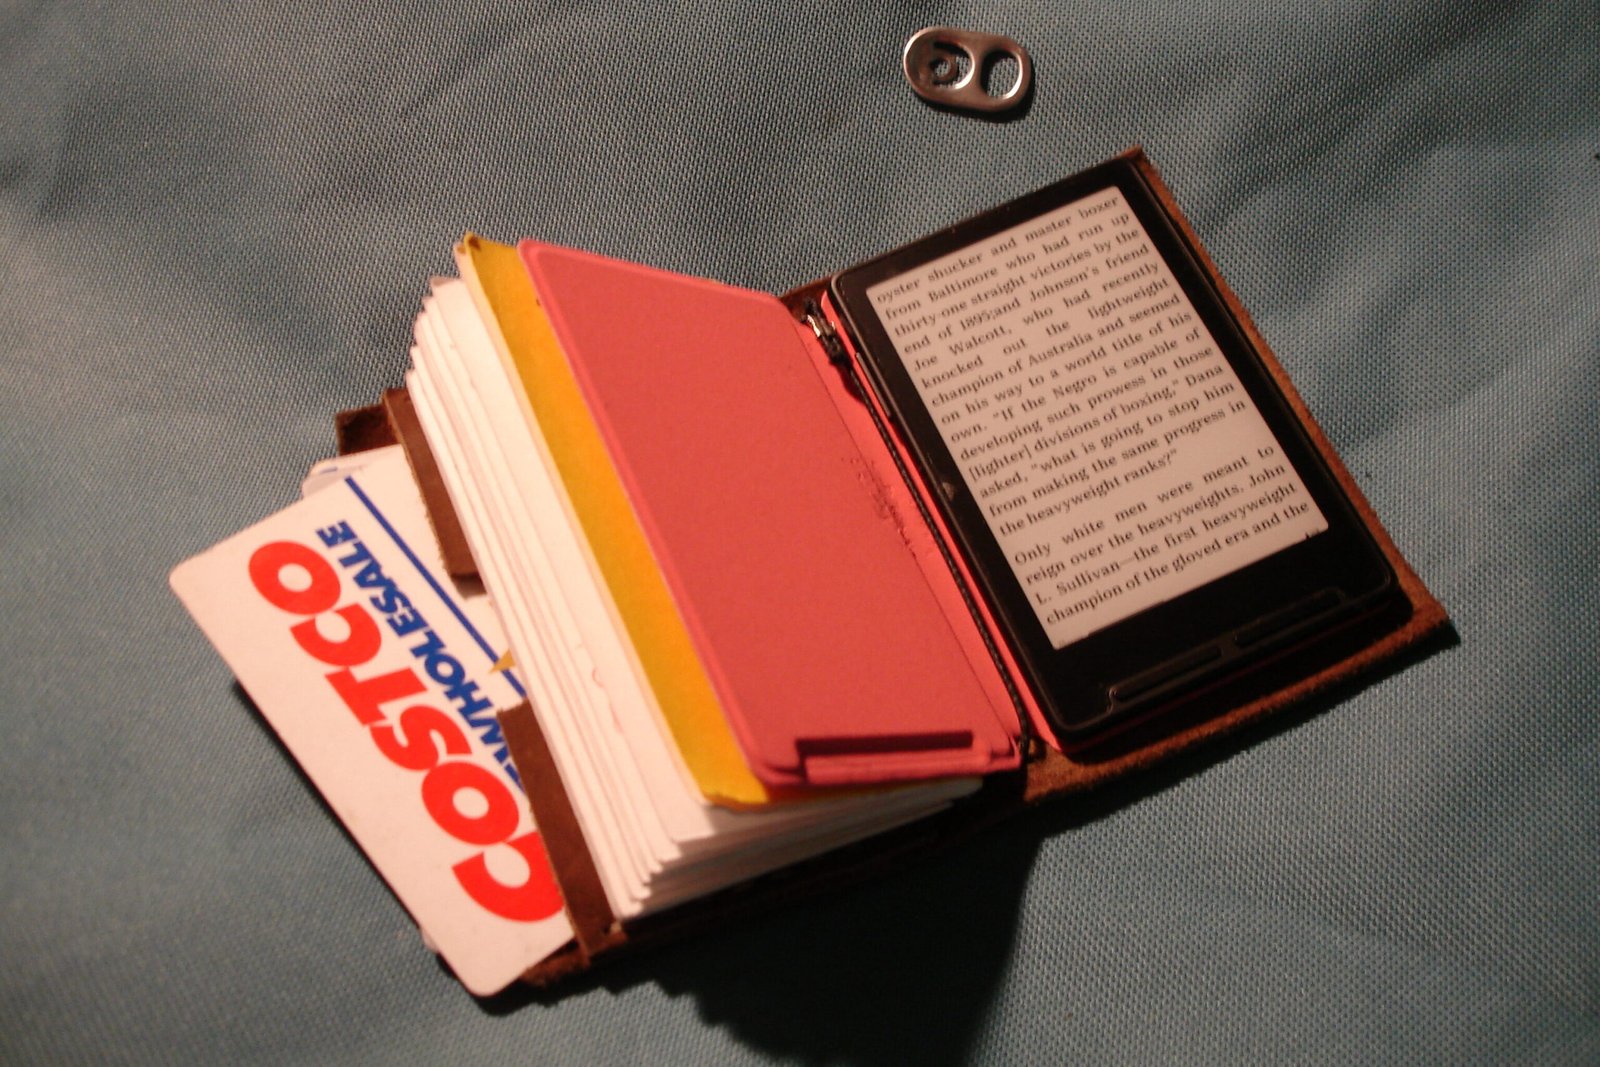
Here is one of the projects I’ve been working on recently.
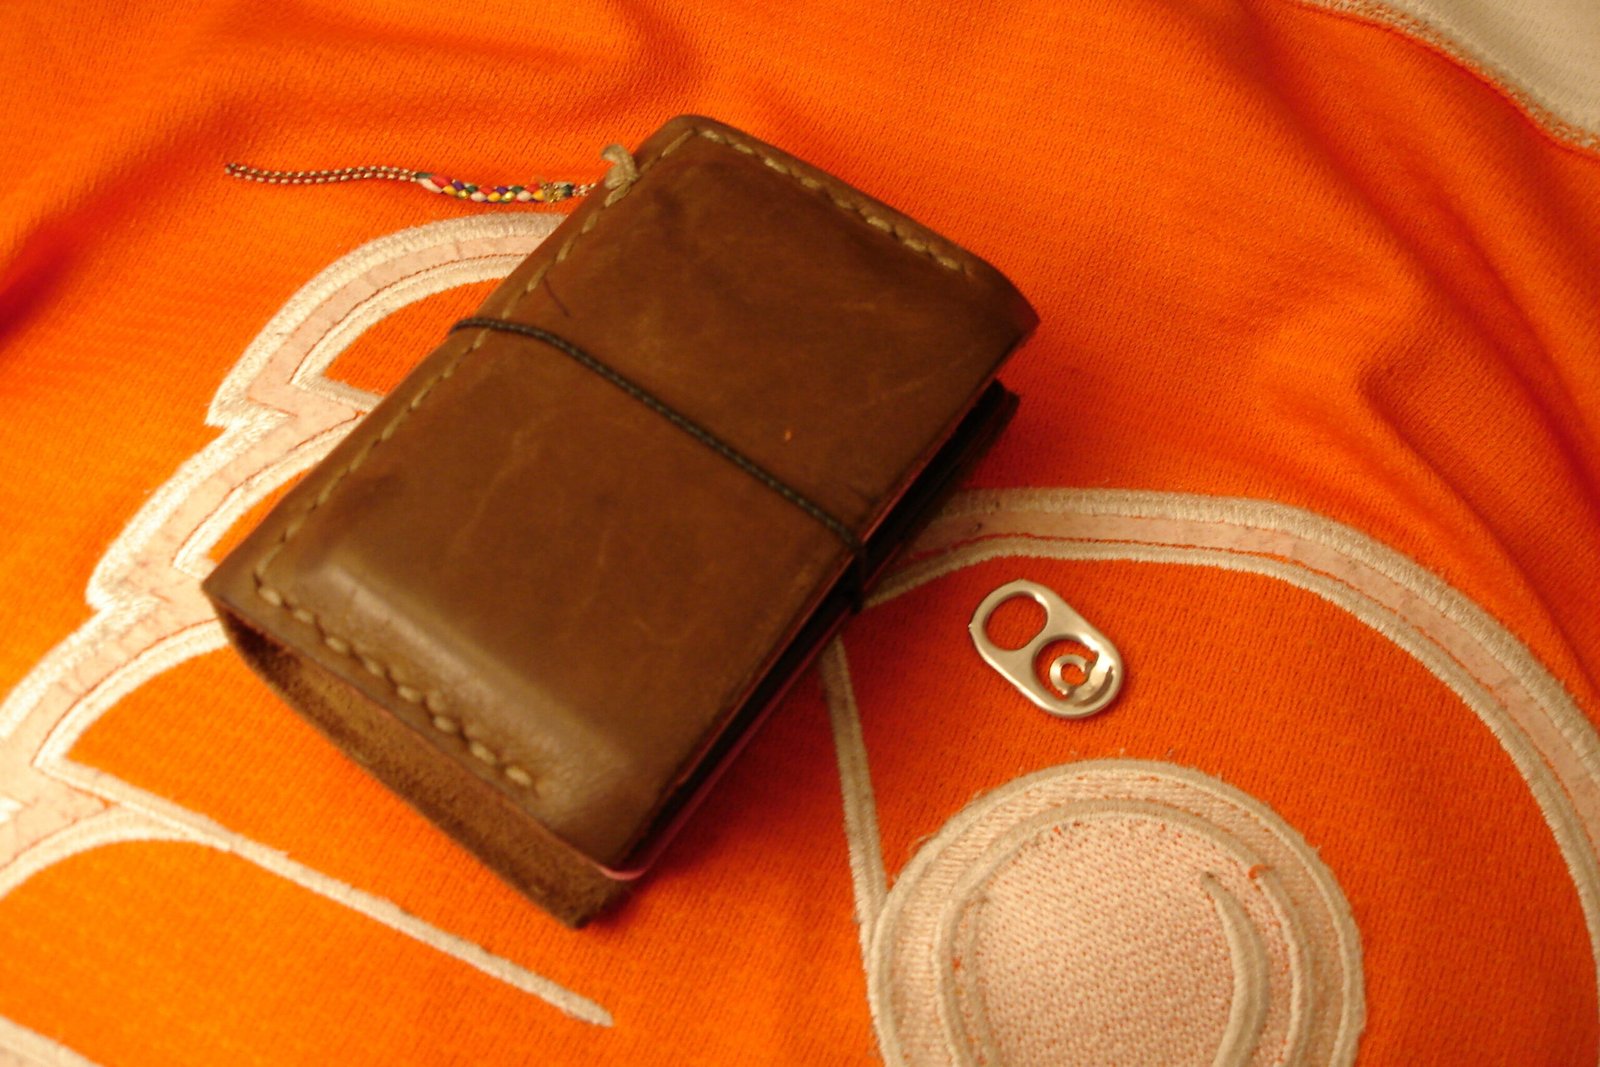
It’s a modular pocket-sized folio that fits a notebook, wallet, and e-reader. I made it to condense the contents of my pockets as much as possible. I carry around way too much stuff as is, so anything to drop the number of things I have on me at any given time is a win.
I’ve been using the final result for a while now and am happy with it. I’ve shown it to a few people, and they’ve been interested, so I thought I’d share some resources on how to make something similar at home.
Overview
I’ve been consistently using memo books to take field notes for a couple of months now, and while it feels nice to finish a book and move on to another, they do start to pile up.
A coworker of mine recently introduced me to Traveler’s Notebooks, and I found the concept really intriguing. The ability to carry multiple notebook modules in one consistent leather folio could significantly simplify and reduce the cost of my note-taking, especially as I continue building my first slipbox.
HOWEVER.
Forty dollars for what is effectively a sheet of leather and a couple of rubber bands is a bit much…at least for me. No judgment whatsoever if that’s your jam tho.
At the same time I learned about Traveler’s Notebooks, I was looking to make myself a new wallet, so I decided to just combine the two projects.
The Folio
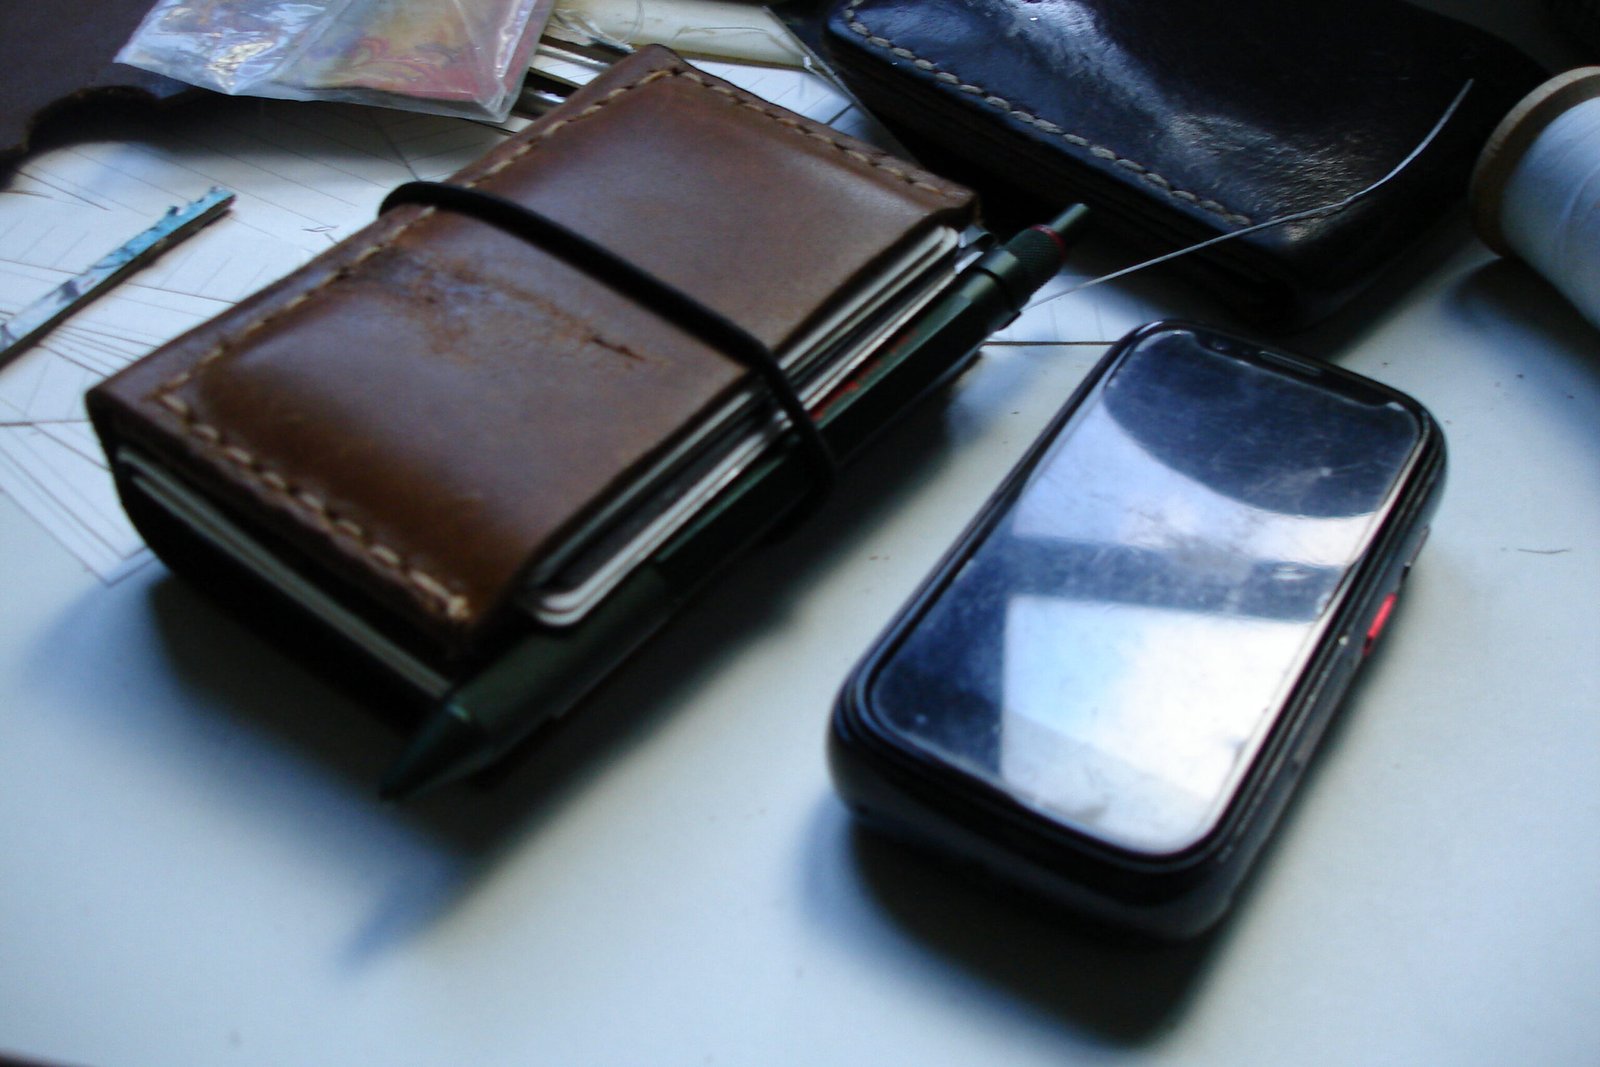
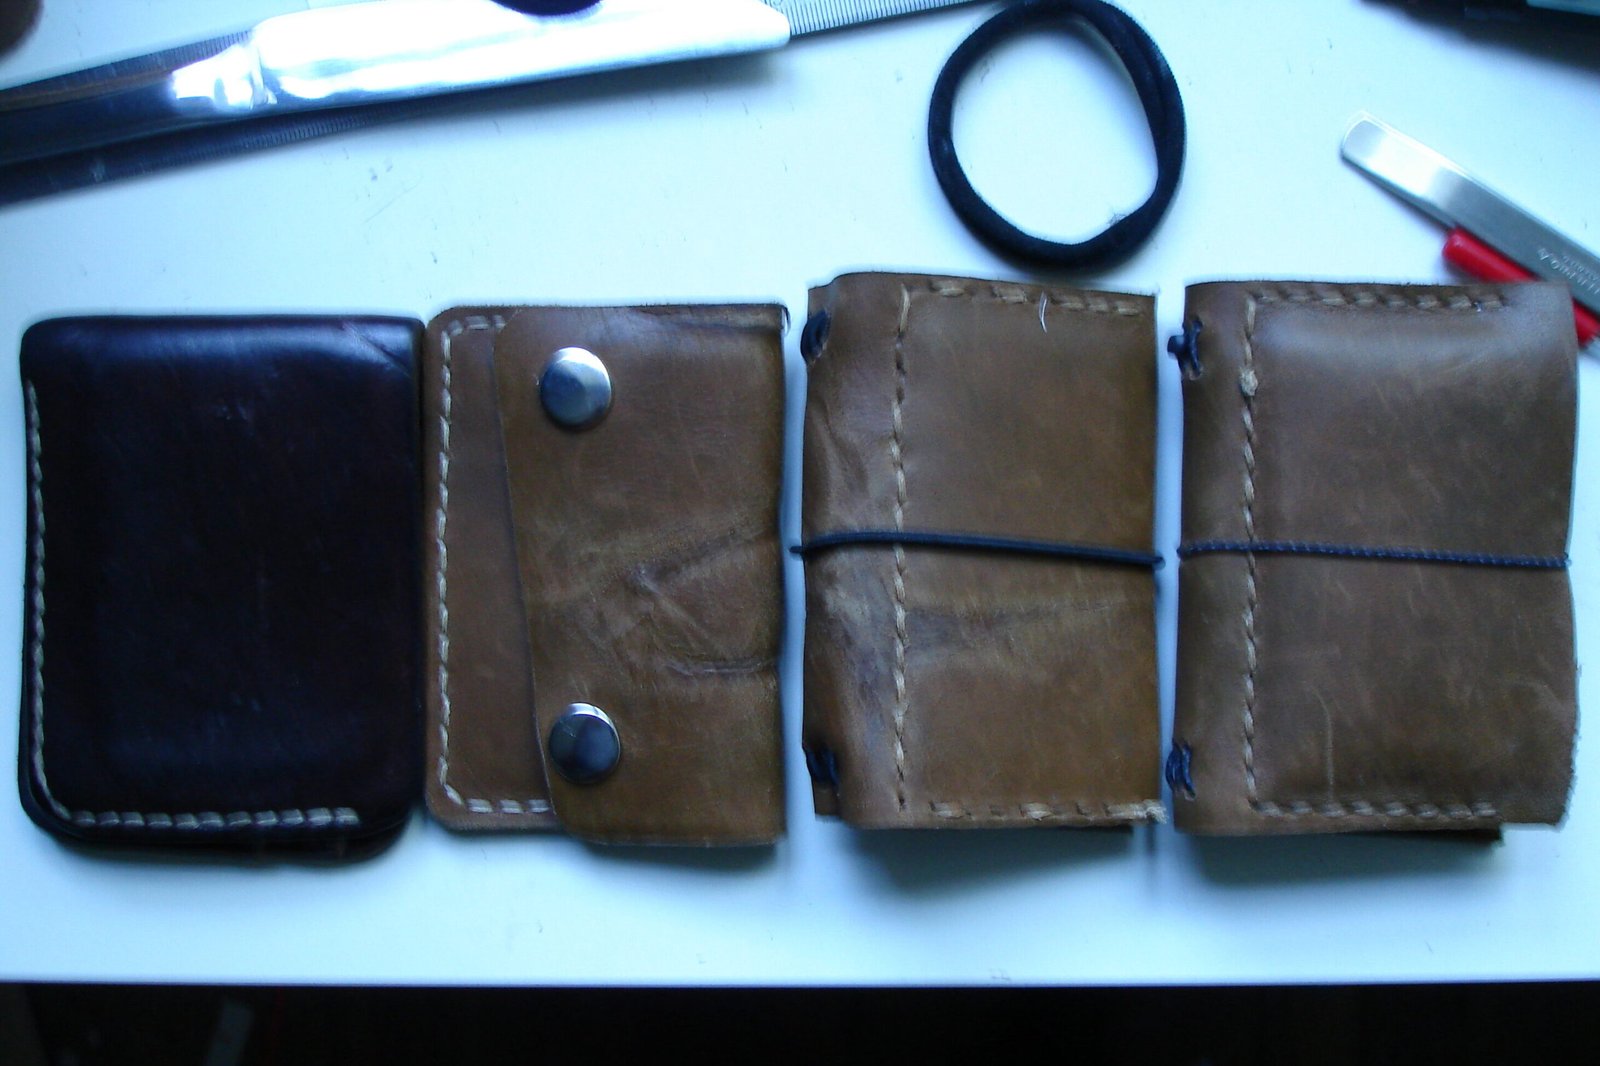
The modular pocketbook is made up of one folio with several ‘modules’ that can be either slotted in and out using elastic bands, or sewn directly onto the folio’s leather.
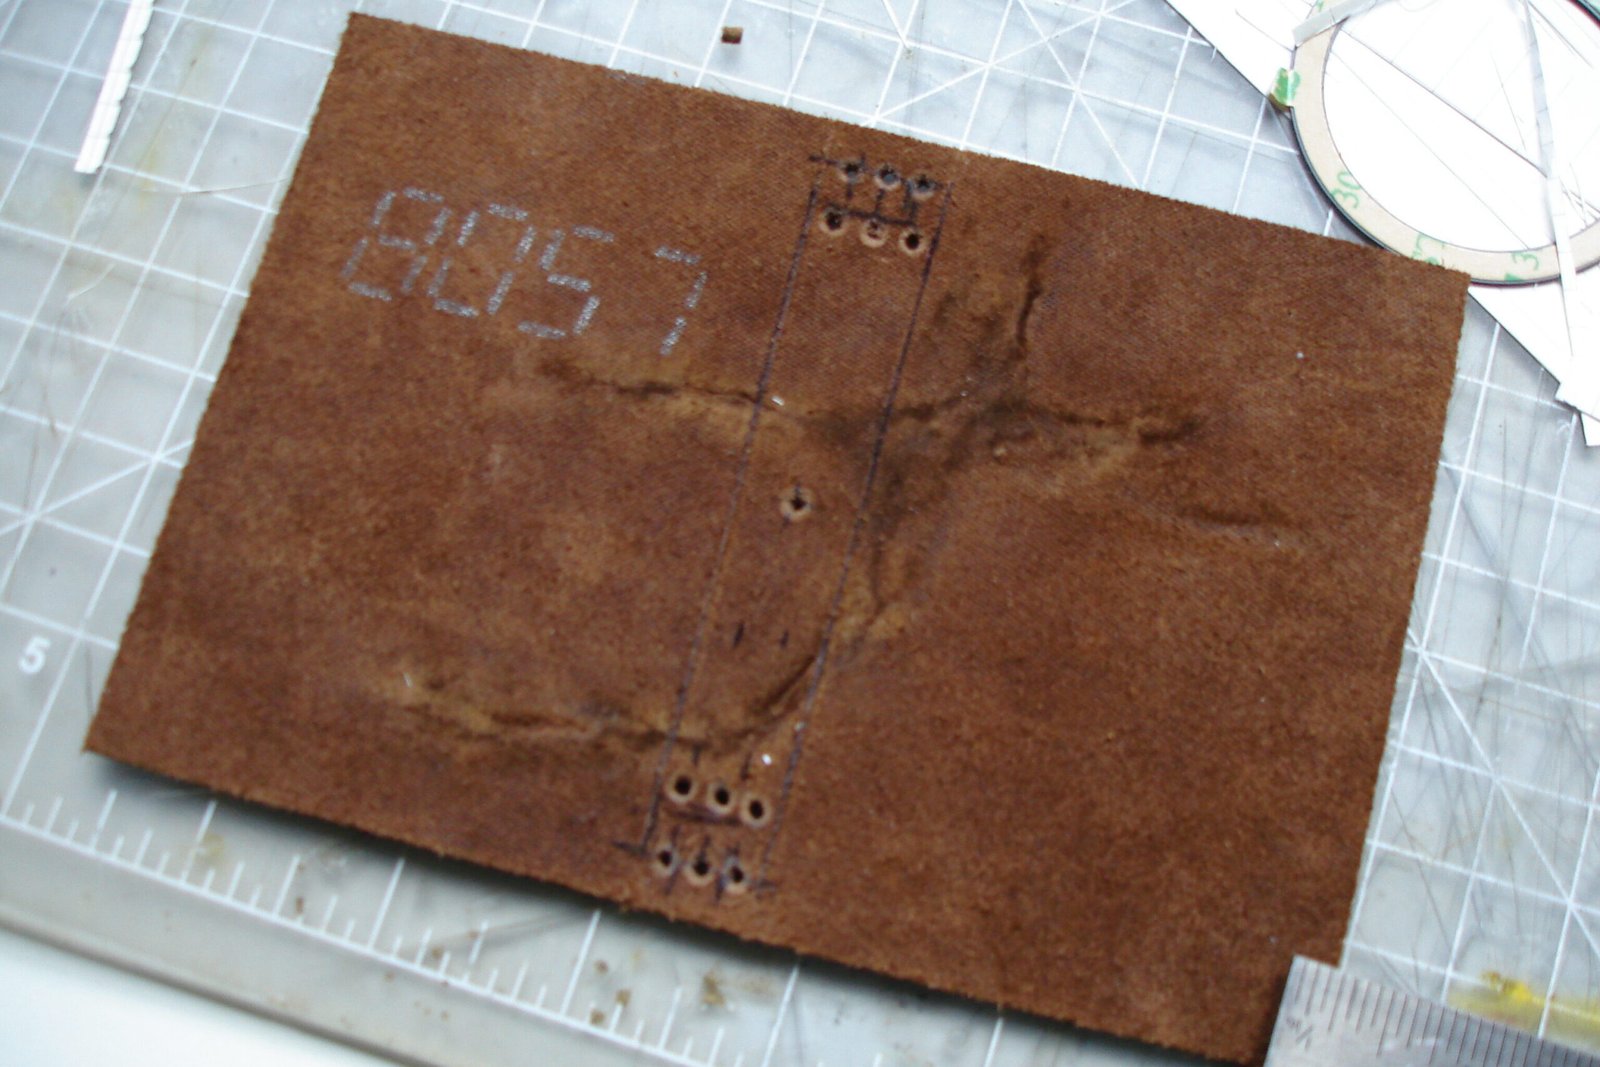
In its purest form, the folio is one sheet of leather with thirteen holes placed along the spine. The center-most hole lets one elastic double as a ‘belly band’ that holds the entire pocketbook together when closed. This feature becomes invaluable for stopping overexpansion when increasing the number of modules in the pocketbook.
There are many ways to seal the elastics. The simplest way is to tie them off in a knot, but that adds bulk. I opted for repurposed electrical crimps for my final folio, which worked well for keeping a ‘slim-ish’ profile.
The Notebook
One of the best features of the Traveler’s Notebooks that inspired this project is the ability to use them with standard-sized field notebooks. When you finish the notebook inserts that came with your Traveler’s Notebook, you can buy more from any brand that matches the size of your Traveler’s Notebook.
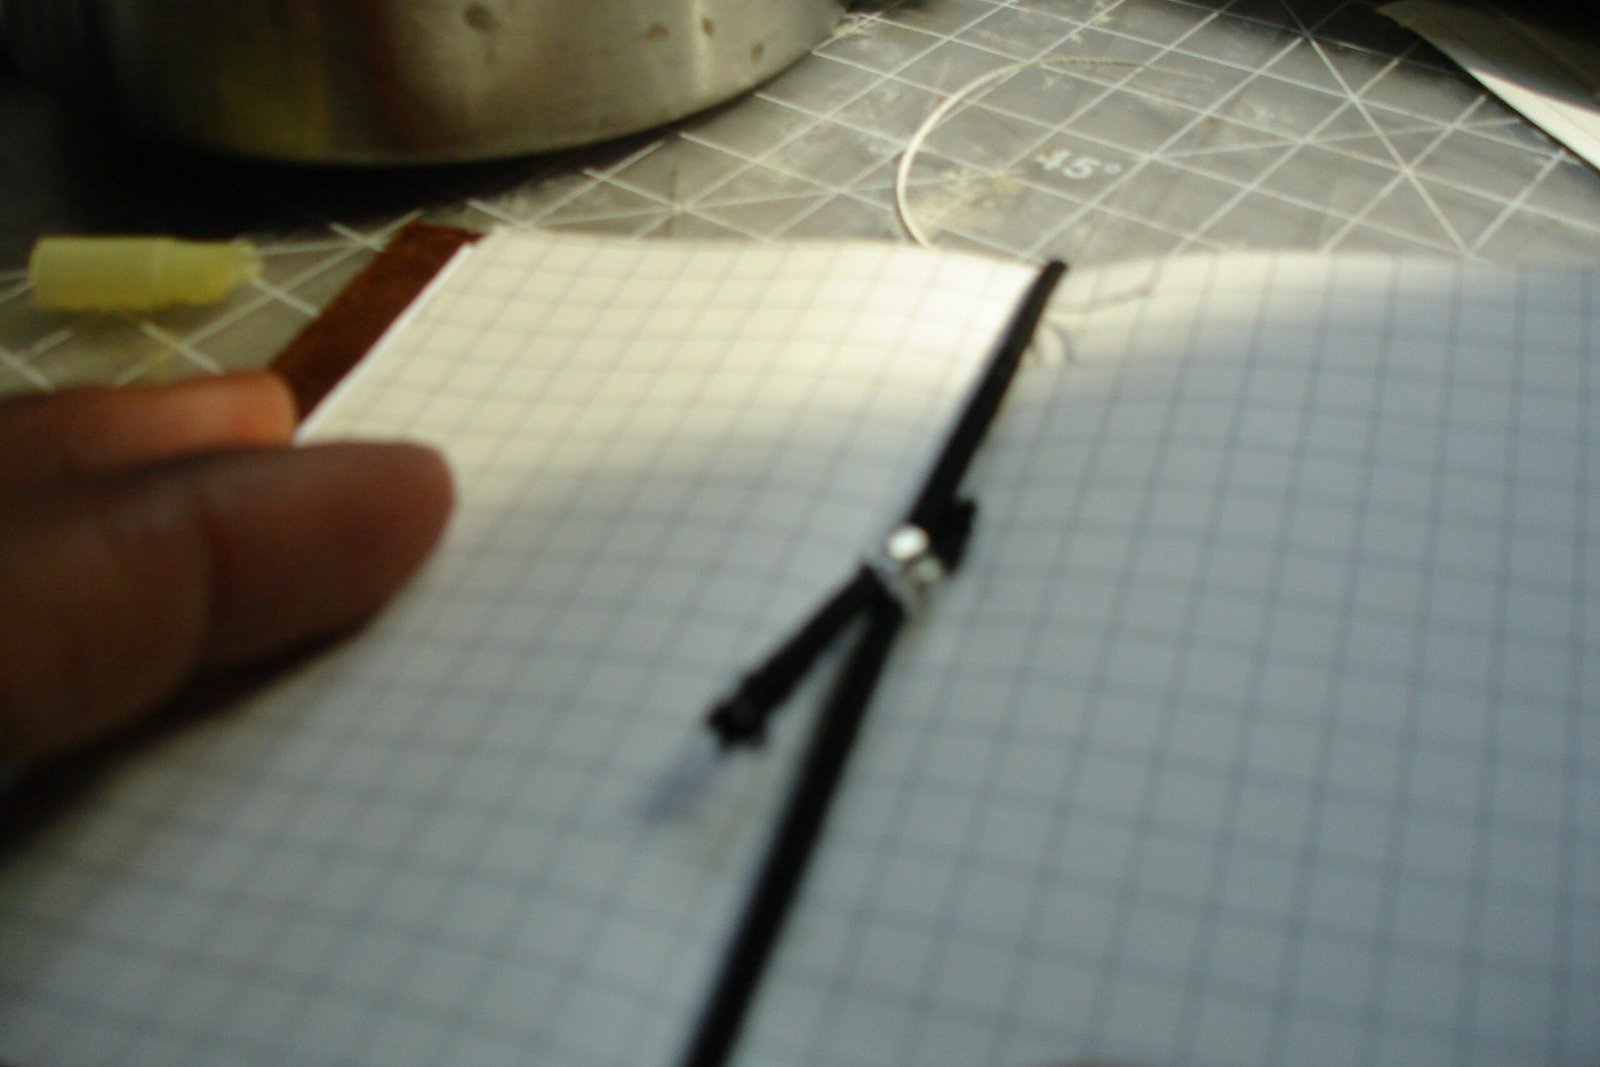
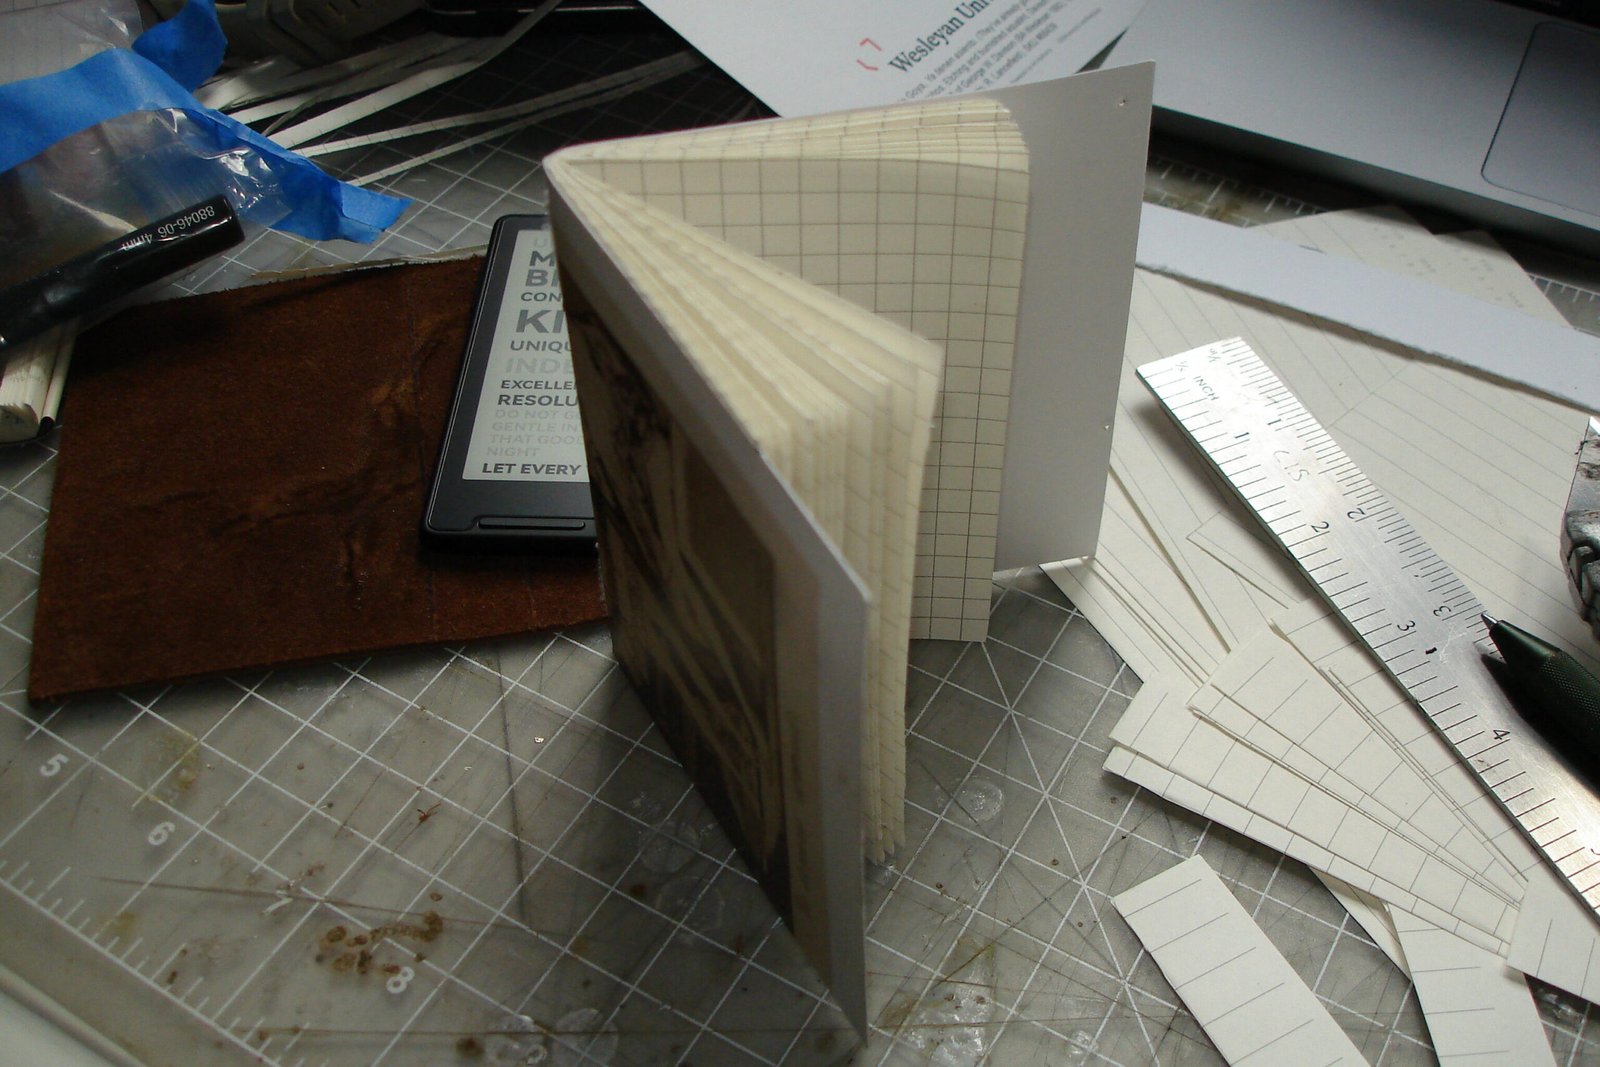
The Modular Pocketbook was designed to be compatible with 2.5″ x 4″ field notebooks, which are extremely easy to find for cheap. I’ve been making these notebooks from scratch since they’re so simple to make at home. All you need is a few sheets of paper, a sheet of cardstock, a stapler, and a craft knife.
The Ereader
The main gimmick of this thing is that it comfortably fits an ‘XTEINK X3’ e-reader in the back. The X3 is super small but still fun to use. The one tradeoff is that it only accepts EPUBs on stock firmware, but my understanding is that once modded, they’re pretty capable little machines. While I haven’t had time to go down that rabbit hole, I’ve been enjoying using my X3 as an alternative to doomscrolling while commuting, waiting in queues, and whatnot.
I used the default folio that XTEINK sells for the X3, and it works perfectly with the elastic system.
Make Your own
There’s a link below to download a template for the basic folio.
If I were to make another one of these (which I most likely will), I’d probably try to include some more hardware to give the folio structure. Specifically, some eyelets around the holes.
I’d also play with the method I used for sealing the elastic. The middle elastic that also works as the ‘belly band’ is a bit taught, and since it has no stopper on the outside, the center elastic band can be left very loose at times since there’s nothing to tension it.
A simple fix would be to add a small knot on the outside to add some tension to the inside elastic.
Thank you for reading until the end. Or scrolling down here. It means a lot to me. Bye.
Back to School: Out of the Frying Pan and Into the Fire

Work
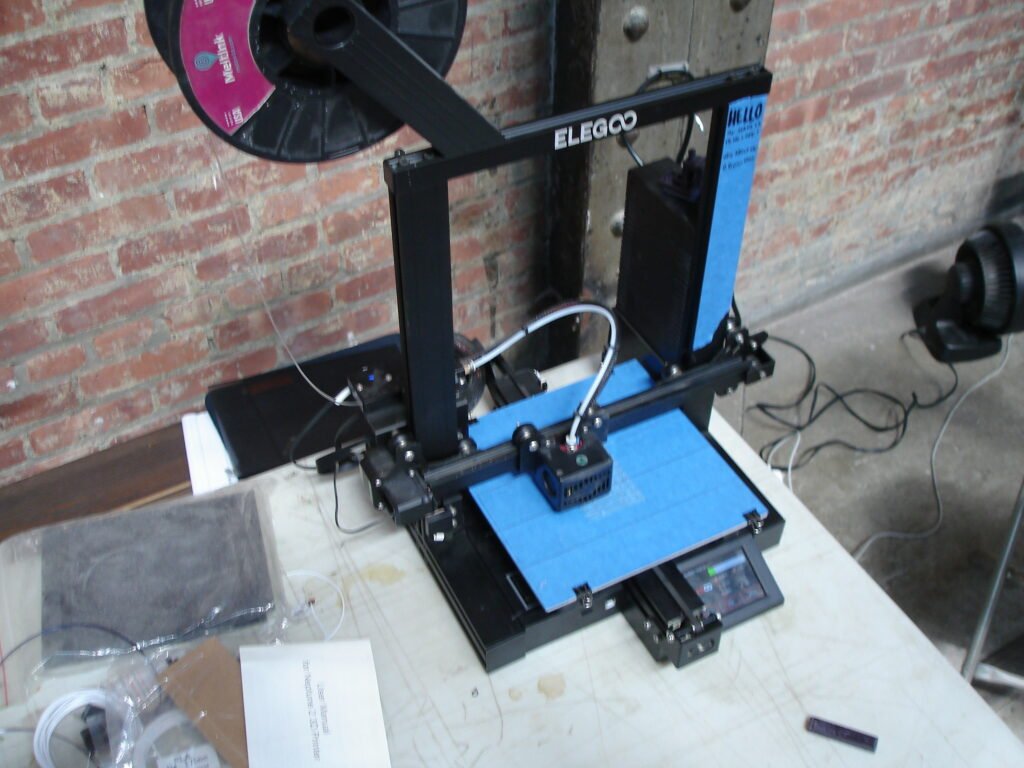
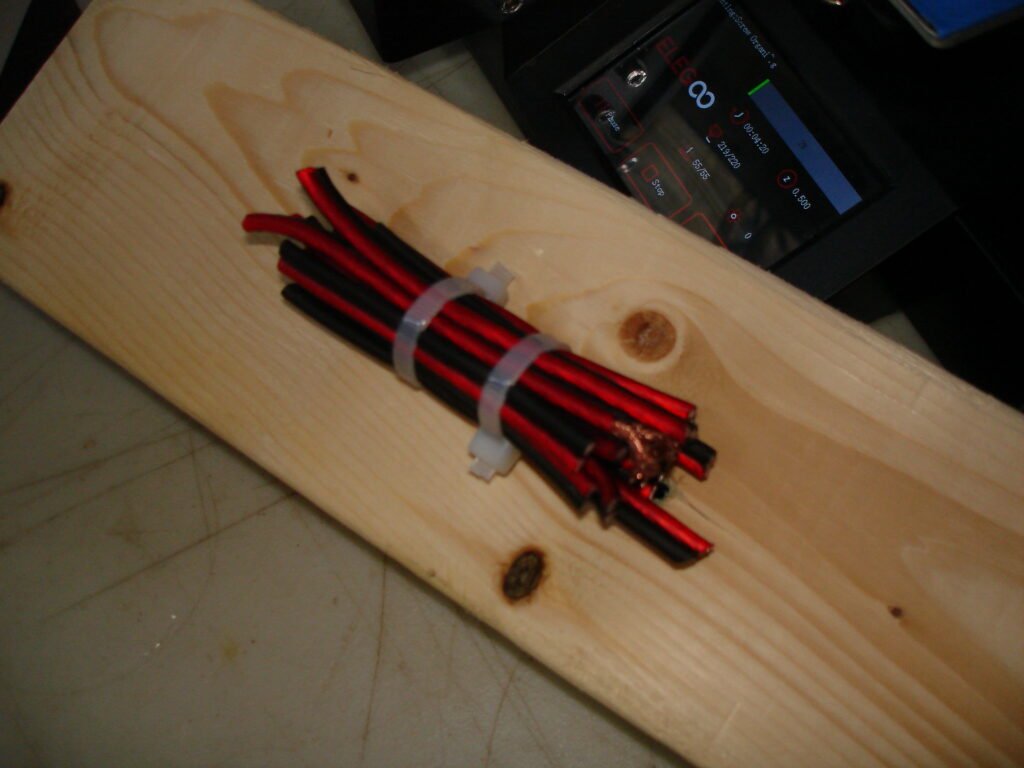
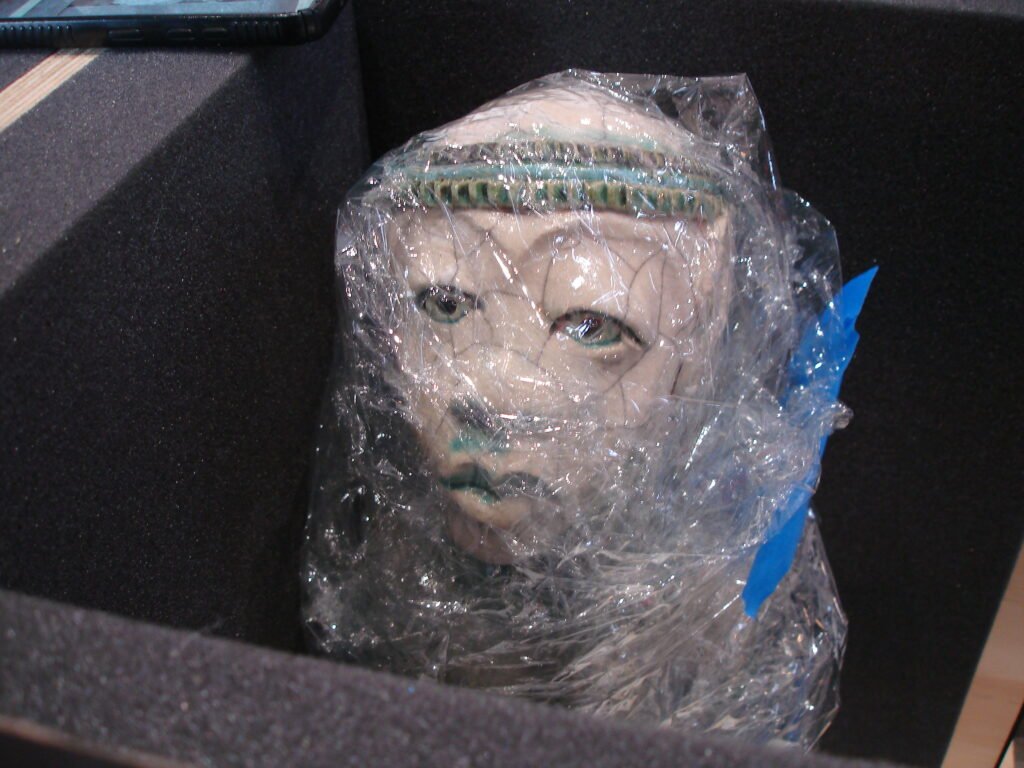
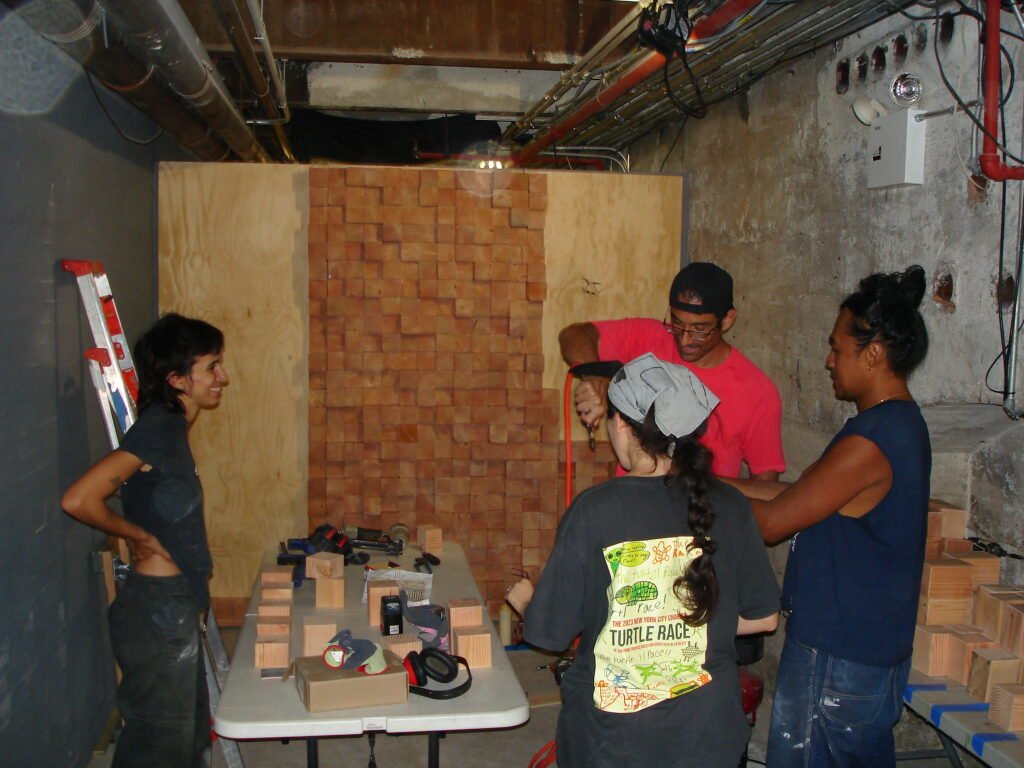
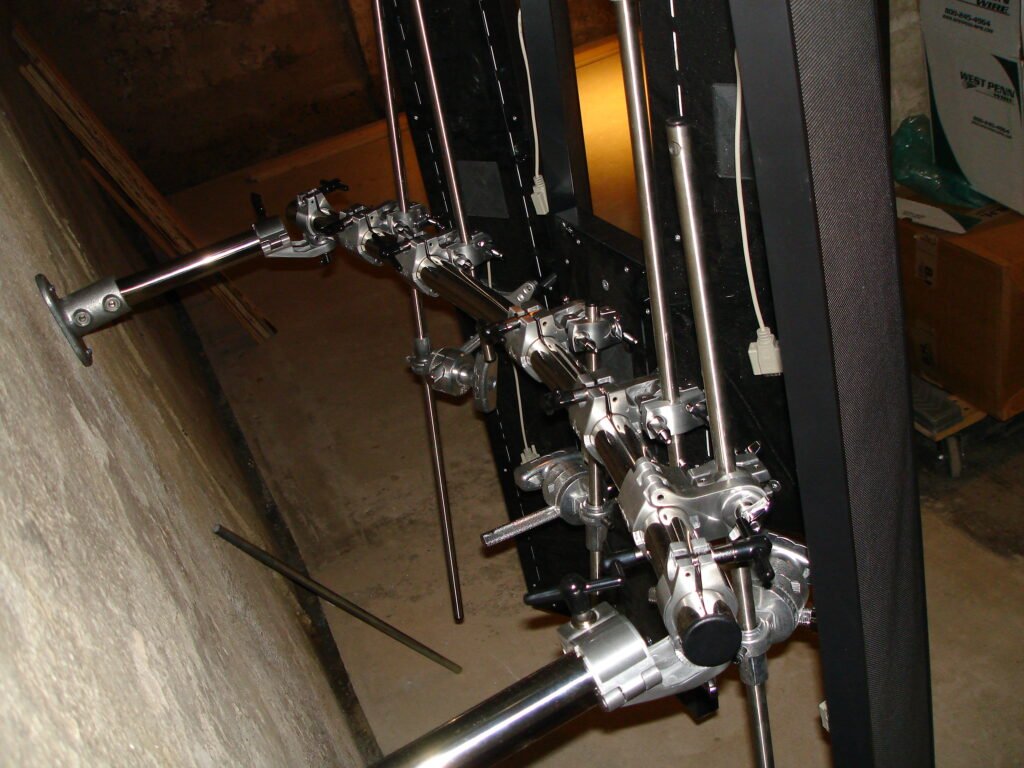
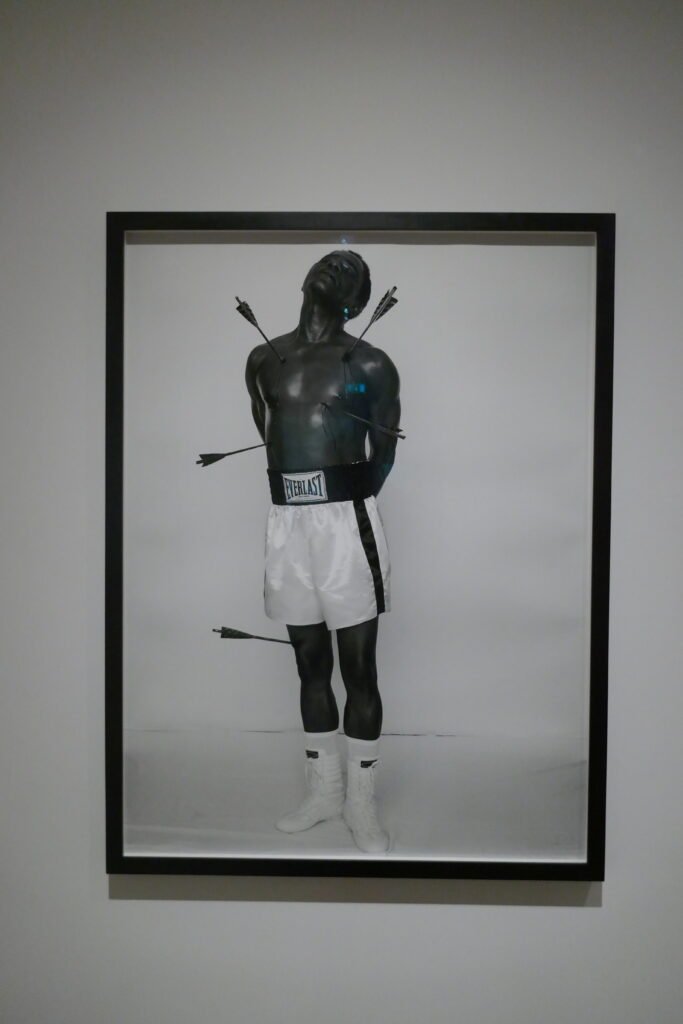
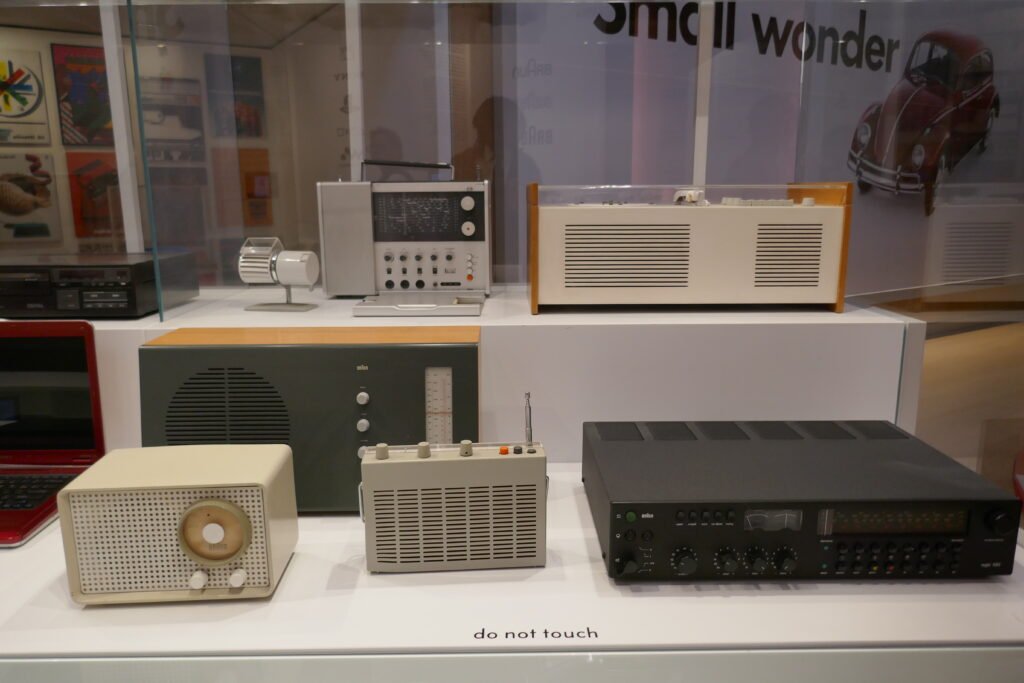
I feel super lucky to have gotten everything I did done this summer. It really felt like twice as long as it actually was. Thank you to the team at Seven Brands, SculptureCenter, and Kate TenEyck for letting me help with various projects over the past few months. Your guidance has helped me immeasurably.





Play
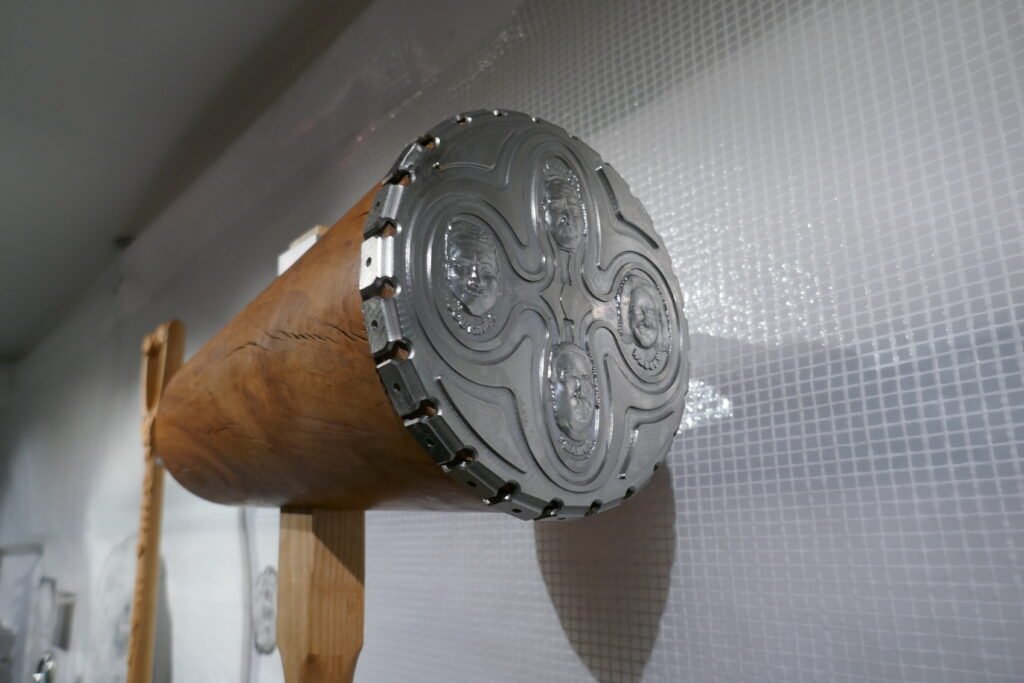
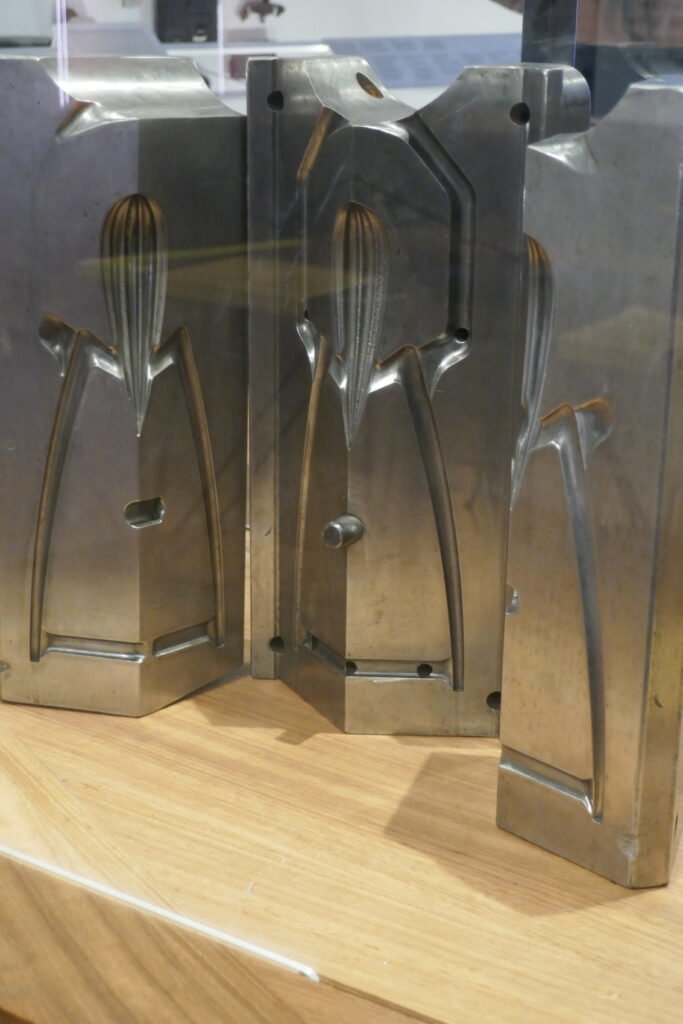
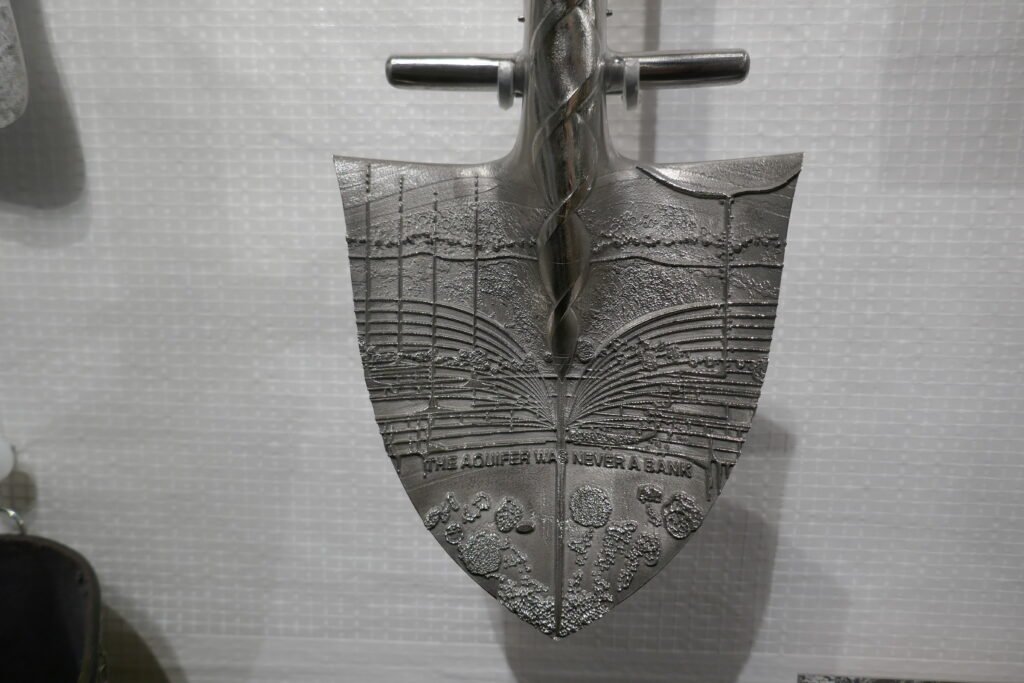
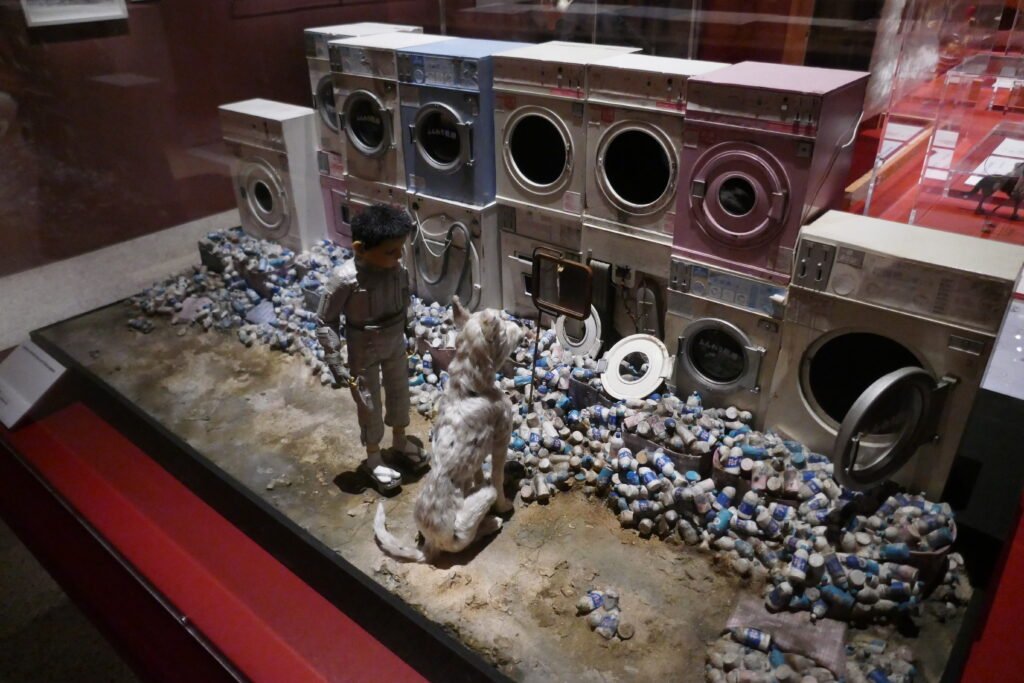
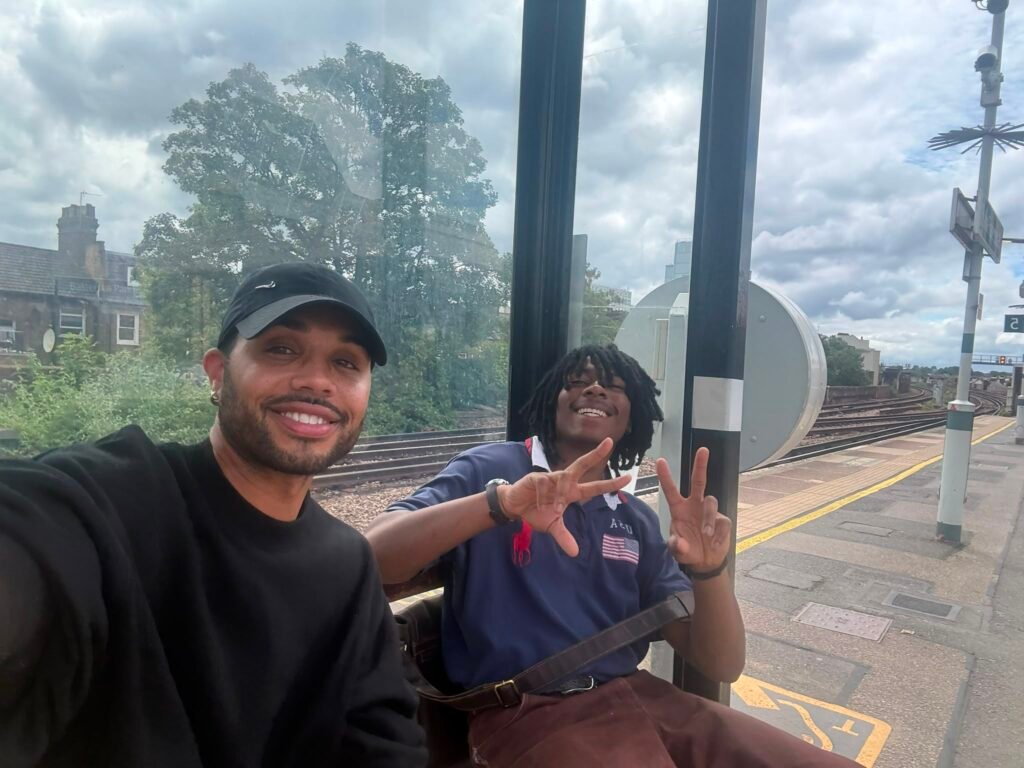
Shoutout to all the buddies I got to see this summer. Thanks for being patient with me while I was all over the place.











































Future
Feeling pretty bittersweet as I enter my final year of university. I’m excited for the whole year and everything after that, but I’d be lying if I said I wasn’t a bit sad to see this chapter of life come to an end.








Thank you for reaching the end. It means a ton. Good bye for now.
Detachable Cable Modding a Pair of ATH-EW9s
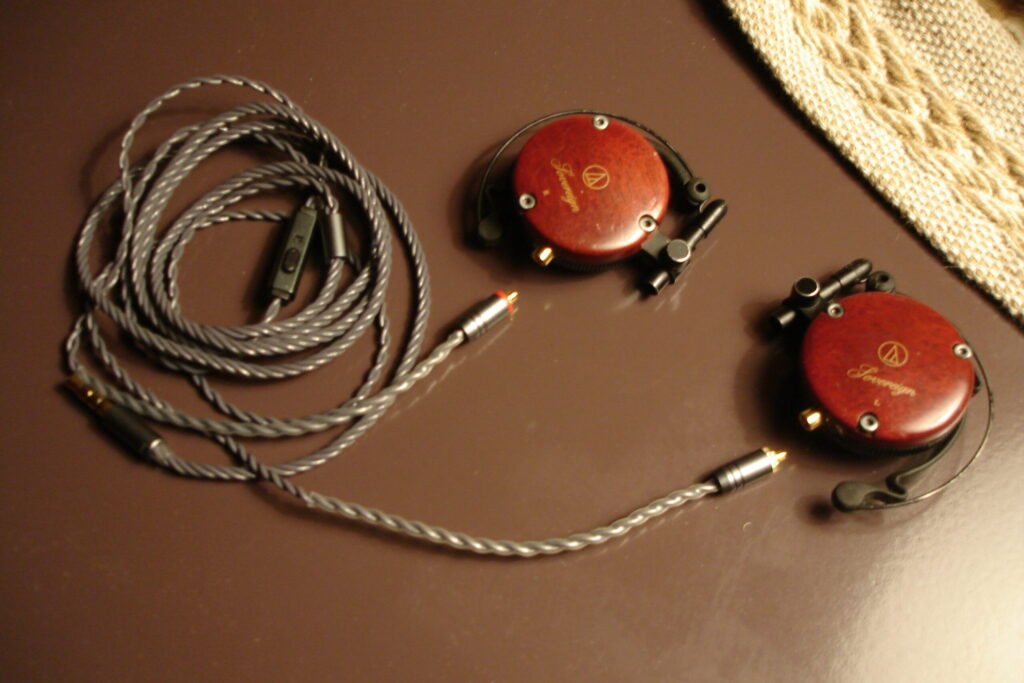
This guide will give you an idea of how to complete a detachable cable mod for a pair of Audio-Technica ATH-EW9 clip-on earphones. After completing this modification, you will be able to use any MMCX cable you desire with the EW9s, freeing you from the headaches that come with damaged internal wiring and the…’unique’ wiring situation that comes stock.
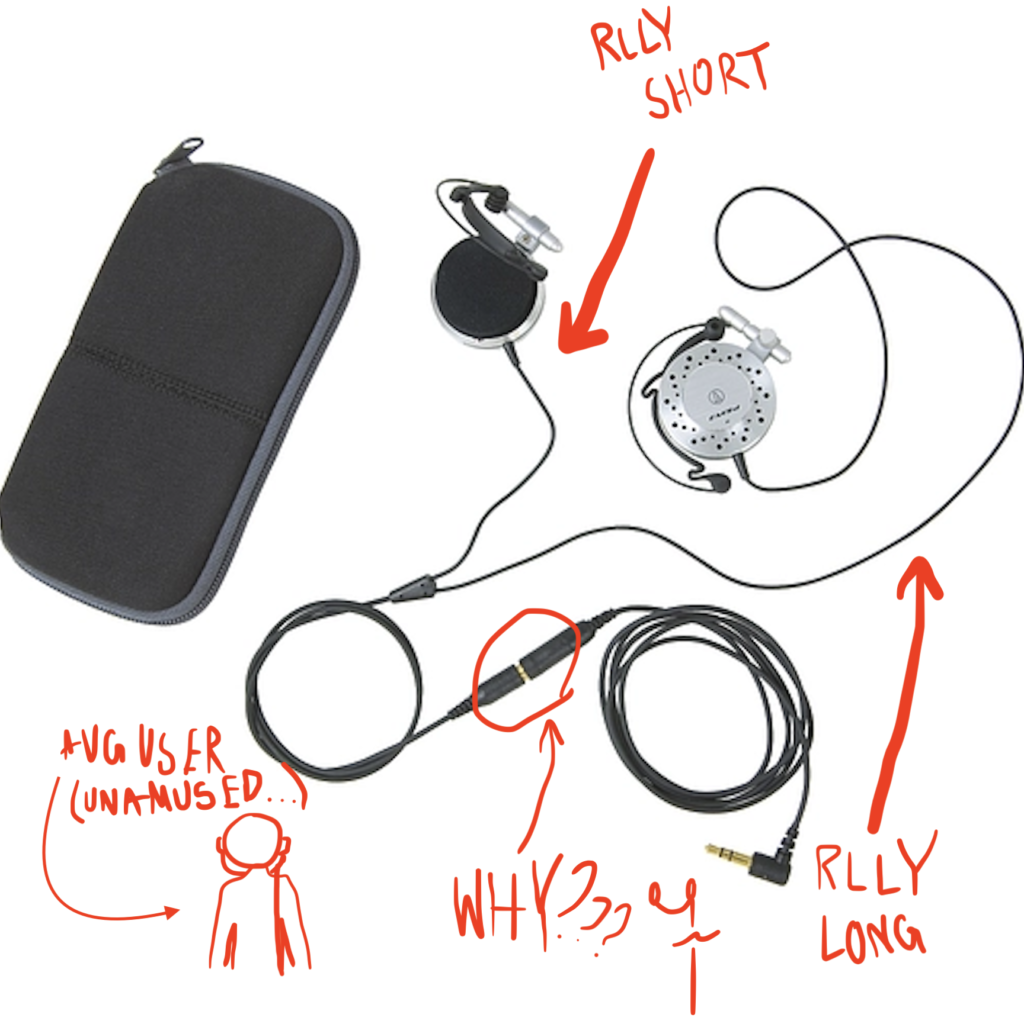
Parts List
- MMCX Socket
- MMCX Cable
- Solid Core Wire 28 AWG
Tools List
- 1.3mm Hex Screwdriver
- Soldering Iron
- Craft knife or Dremel with rounded tip bit
I. Teardownnnnn. Use the 1.3mm Hex Screwdriver to remove the three screws on the headphones’ outer shell. Remove the shell, ear clips, and foam padding that sits directly on the driver. Set loose parts aside.
II. Connect it uppppp. Develop a plan to match the MMCX socket pinout to the speaker driver pinout. The outer housing of the MMCX socket is for common ground, and the inner ‘nipple’ is for the channel signal.
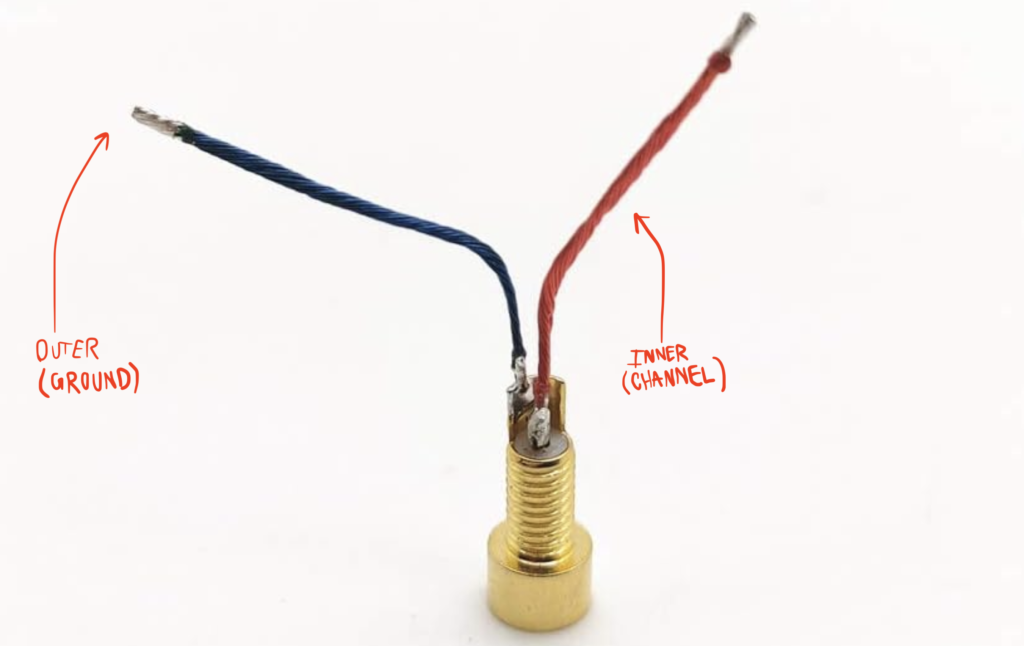
On the speaker side of things, the common ground pad has a copper-colored wire, and the channel wire is colored (varies depending on the side).
This is an extreme oversimplification of how to wire something. If you’re new to this kind of stuff, check out this video and see if it helps. TL;DR: plan to match the proper channels, and you’re good to go.
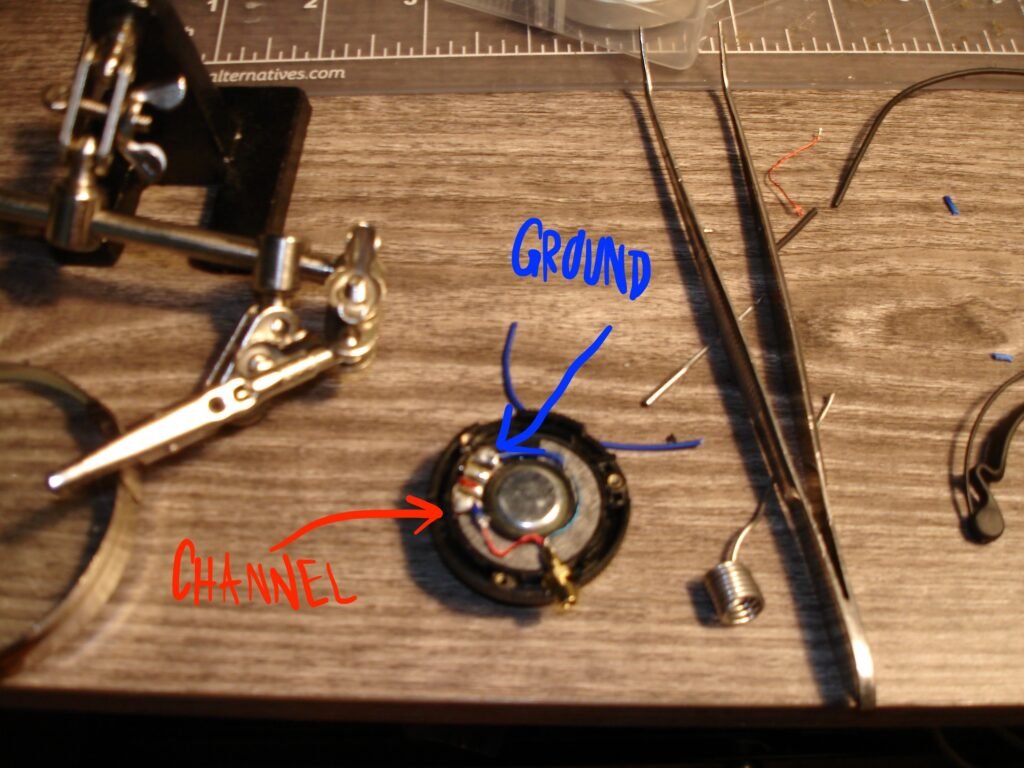
De-solder and completely remove the wires that came with the earphones. Use a length of wire to measure a clear path from the solder pad to the socket’s mounting hole. Make sure to leave some slack so the MMCX connector does not put any tension on the new wires.
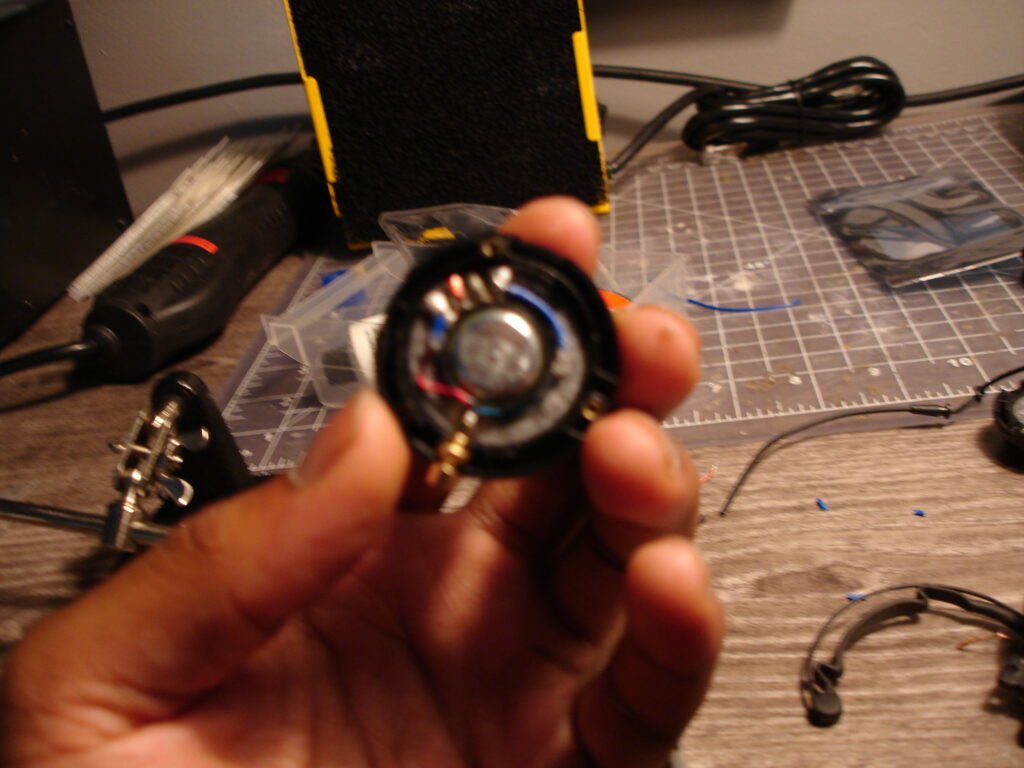
If you haven’t already, add the nut that came with your MMCX connectors to the threaded housing. Solder your wires to the exposed connections on the back of the MMCX connectors and to the speaker driver pads. Seal the solder joint around the MMCX socket to prevent any shorting. DO NOT apply any sealant around the speaker pads.
III. Make it fiiiiiittttt. This will be different for everyone depending on the specs of parts used, but it should be along the lines of the following:
- Widen the hole the original cable came out of to fit the MMCX socket.
- Fit the MMCX socket nut in between the inner and outer walls of the earphone’s main housing.
- Carve into the top cover with a craft knife or Dremel to make room for the lock nut.
This part’s pretty intuitive. Just take it slow and make sure you cut in all the right places.
IV. Allllll together now. Carefully route the cables and place the insulation foam back on top of the speaker driver. Fit the ear clip, lower housing, and outer shell back together, with screws.
Congratulations! You now have a working set of EW9 Earphones with detachable MMCX sockets.
Finalllll Noteeeee. The EW9s have slowly become my favorite headphones over the past few years. I originally bought them on a whim after coming across a clip from an old Etika stream where he professed his love for the Koss KSC75s. While I have my own beef with Koss and their QC, I still wanted to give clip-ons a shot.
The EW9s have a light sound profile that admittedly isn’t for everyone. They have a noticeably low amount of bass and deliver a pretty bright listening experience.
After installation, the MMCX sockets look like they could’ve come stock, and solve most of the problems that come with the EW9s out of the box. I’ve seen people charge hundreds of dollars for this modification, which is disappointing since it is extremely simple.
I don’t own a set of ATH EM7s but I’m pretty sure that you could follow the same steps for those as well. If anyone does, I’d love to hear about it. I made this guide especially because I hadn’t seen too many people talking about or modifying these little guys.
Something About the World and Seventy two Hours

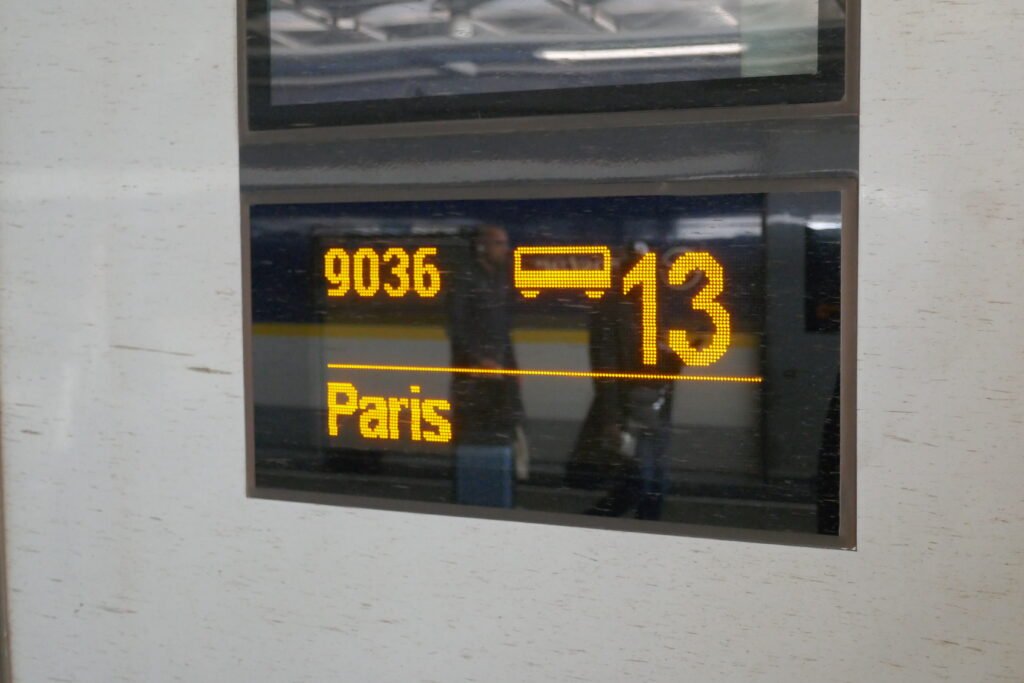
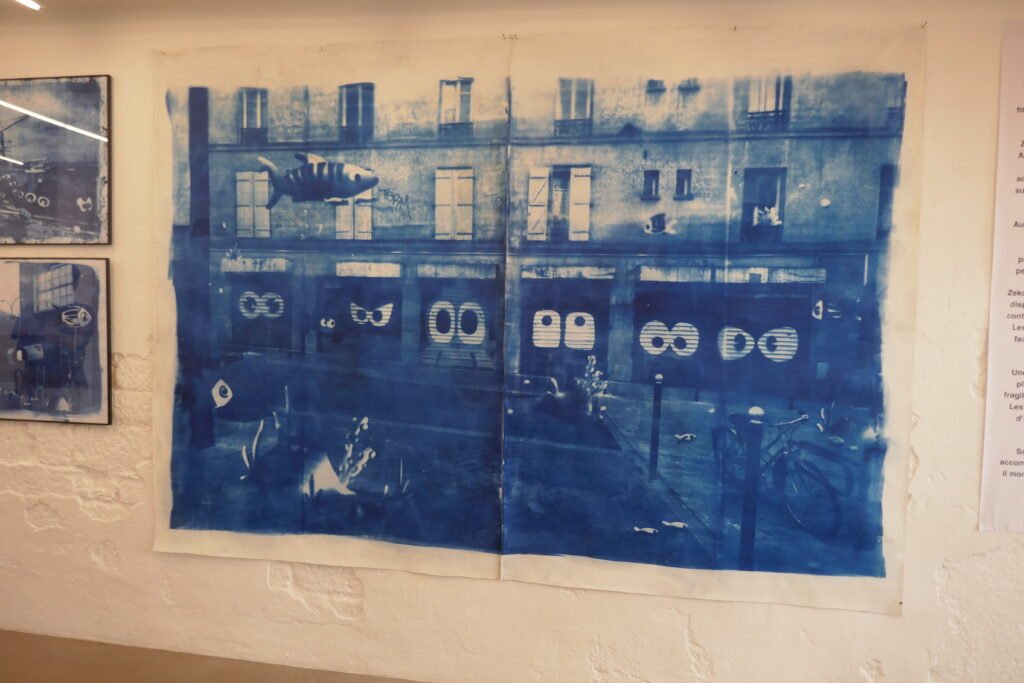
It’s funny seeing friends in random places. The funniness of that increases proportionally with the distance you are from where you normally see them…
This was the first time I’d aimlessly walked around a city in a while. It’s made me appreciate being at home a lot more.















Remembering 240 Quinn: A Shitbox Retrospective
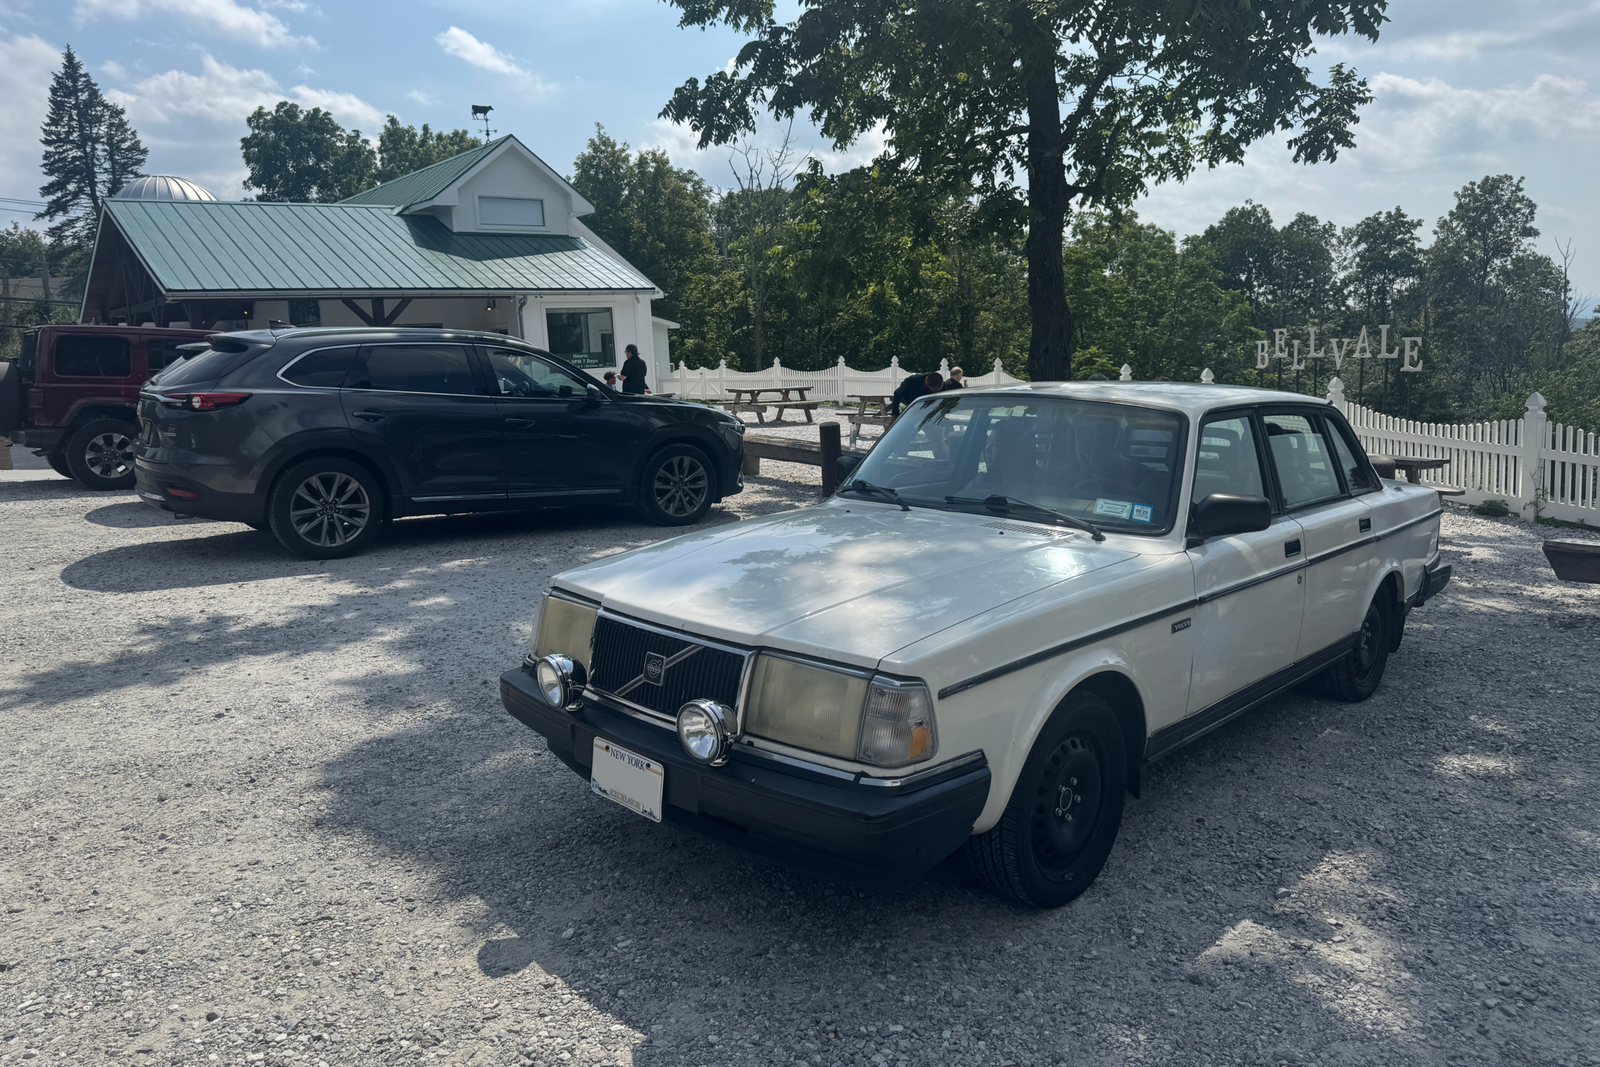
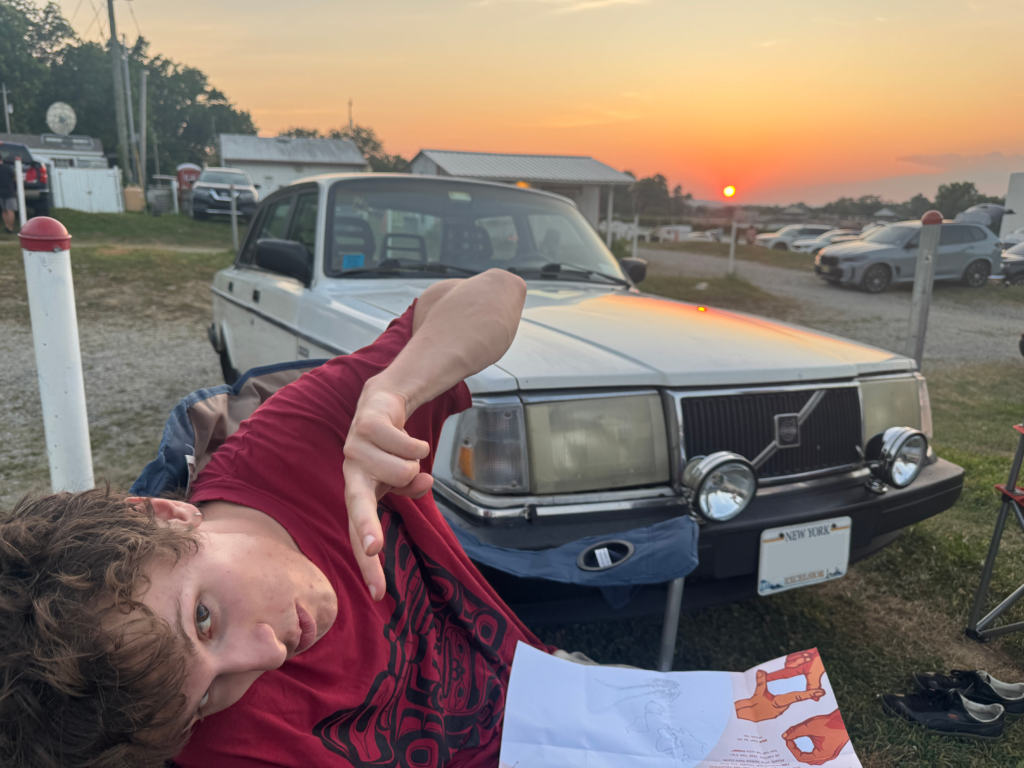
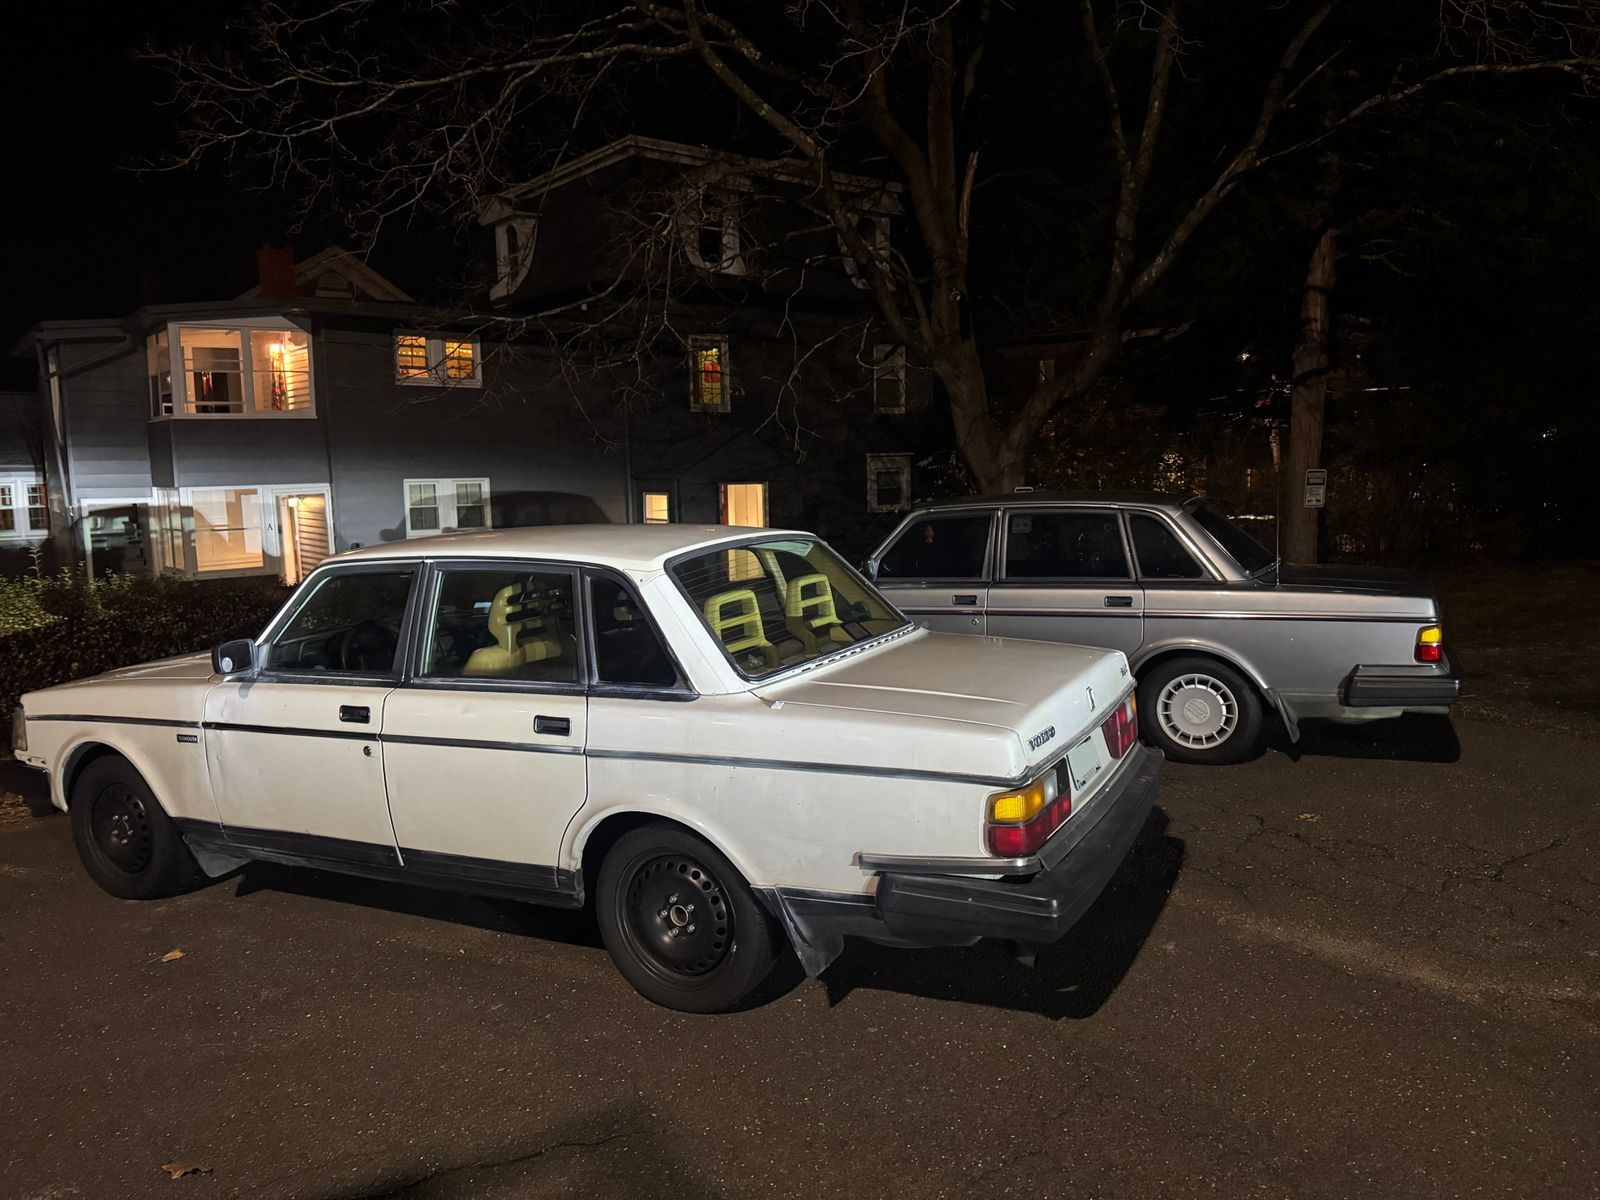
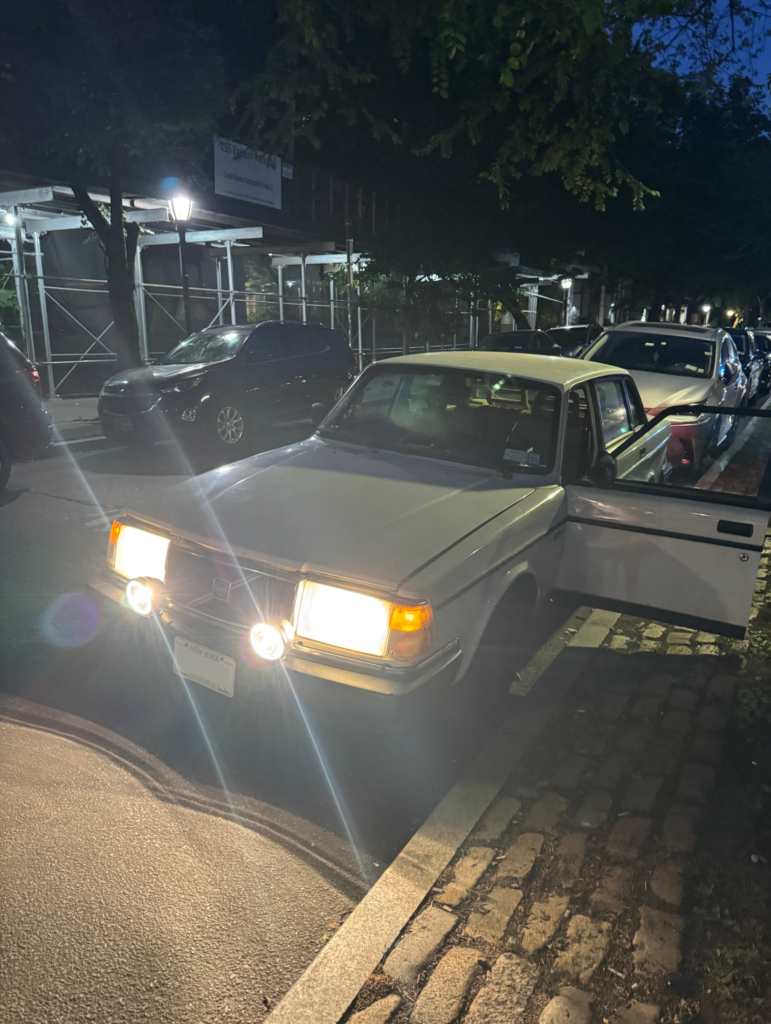
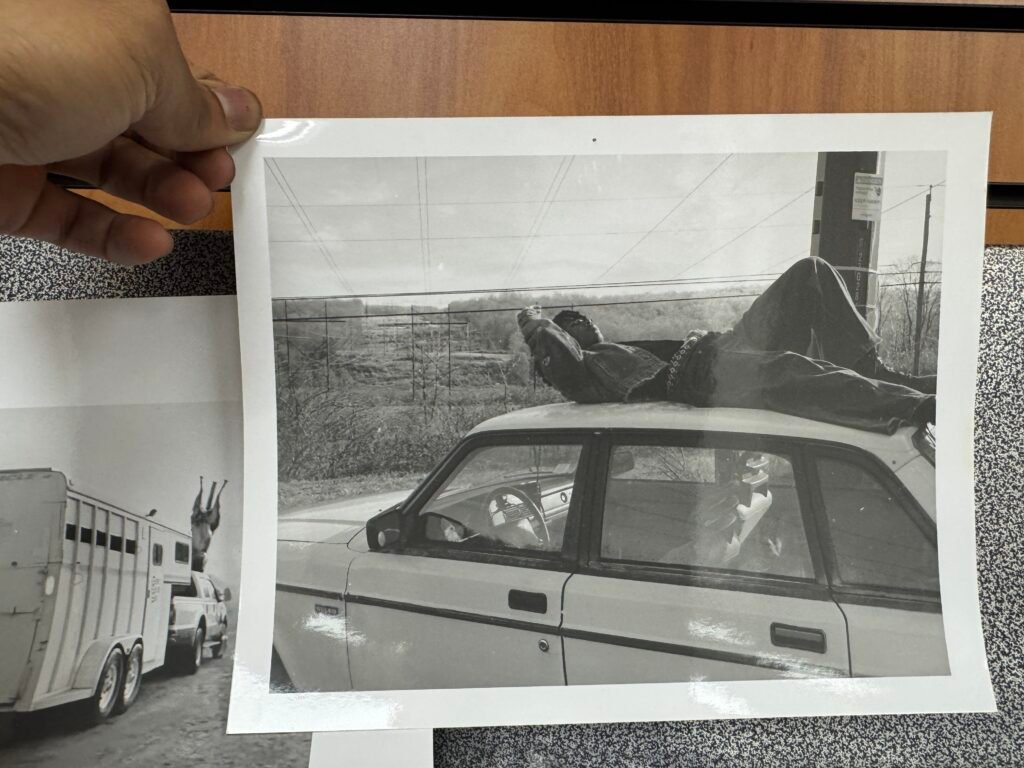
Quinn, Volvo 240
1992—2026
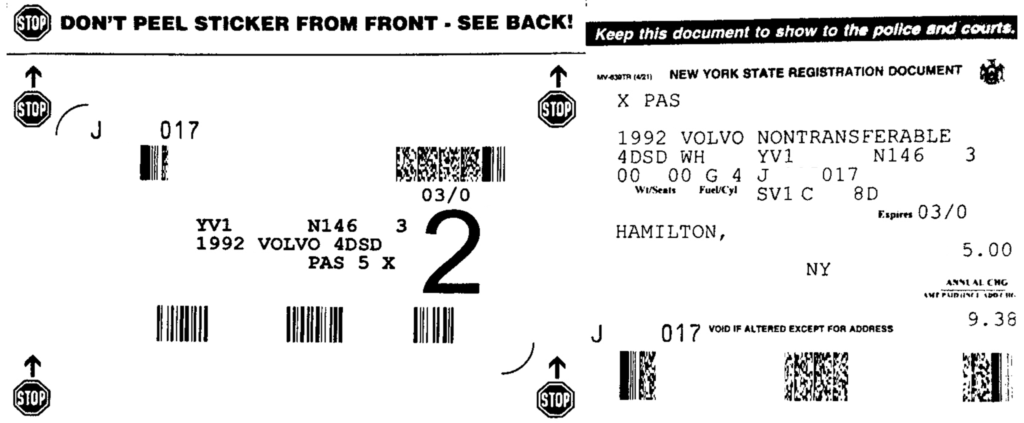
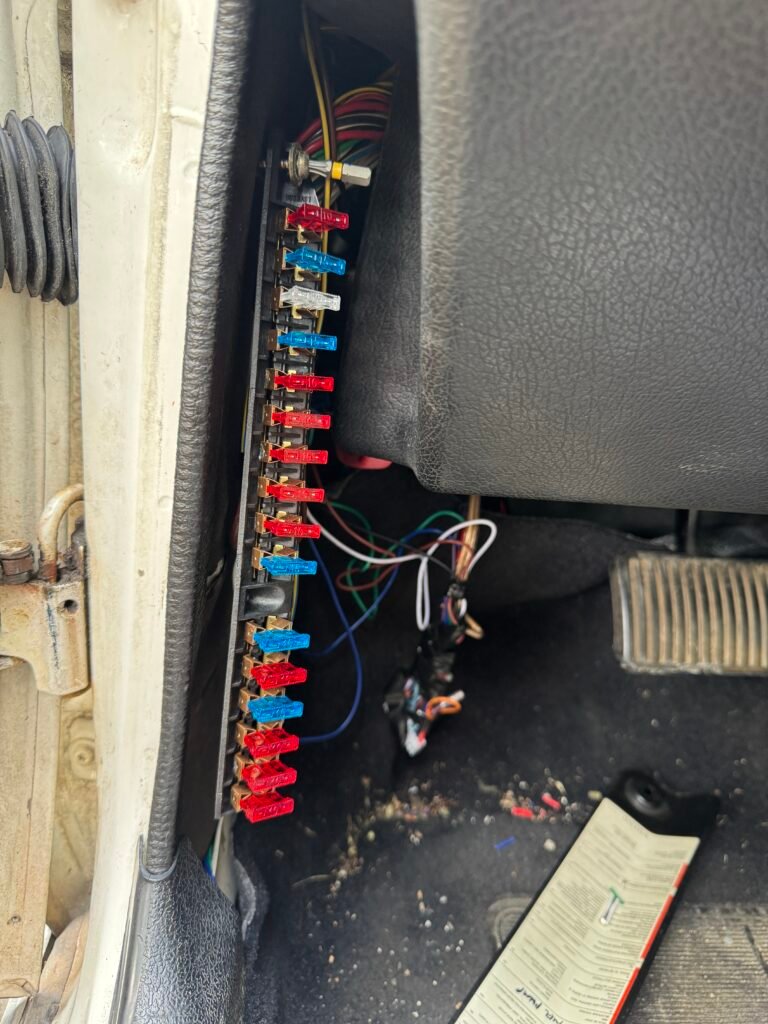
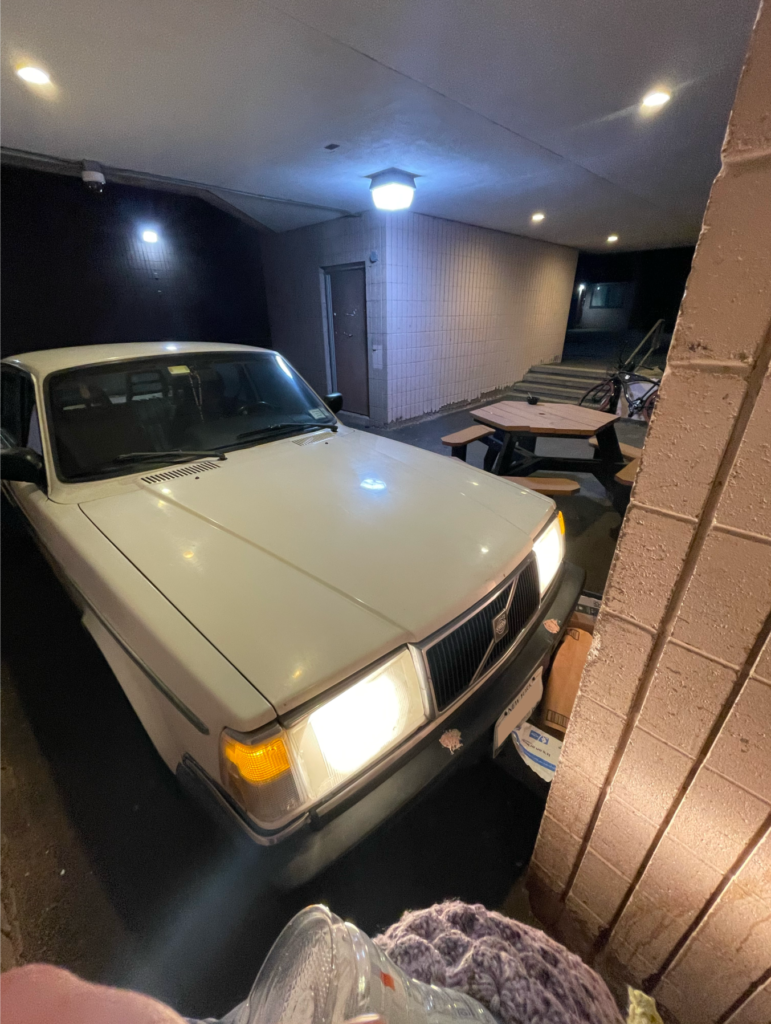
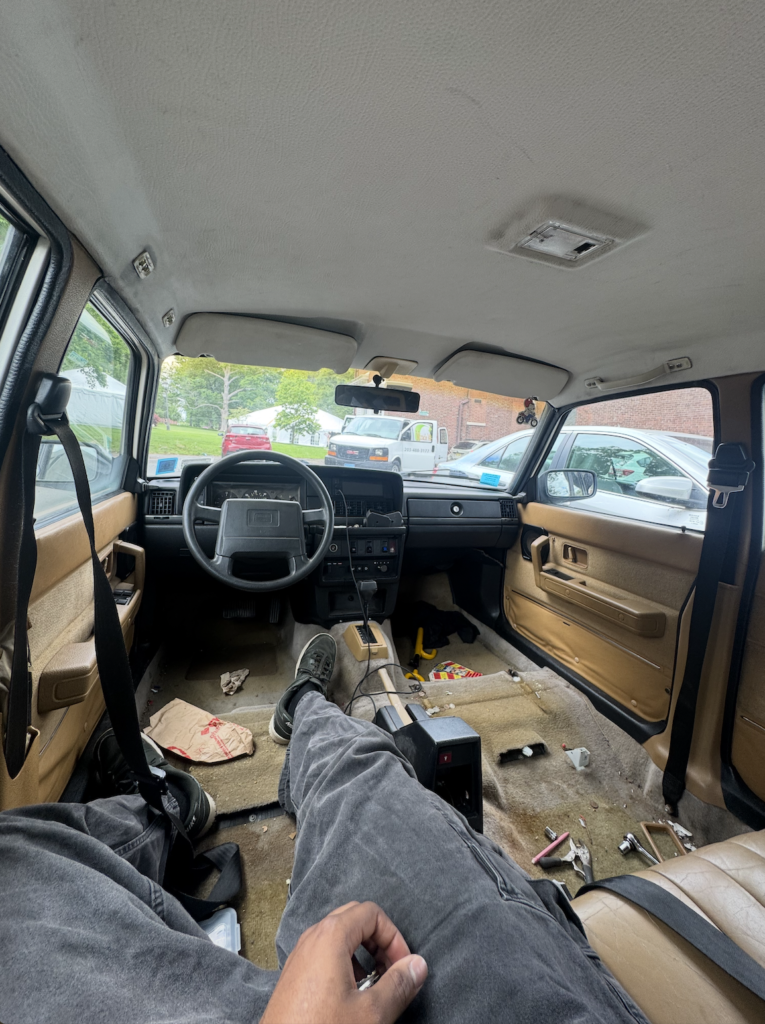
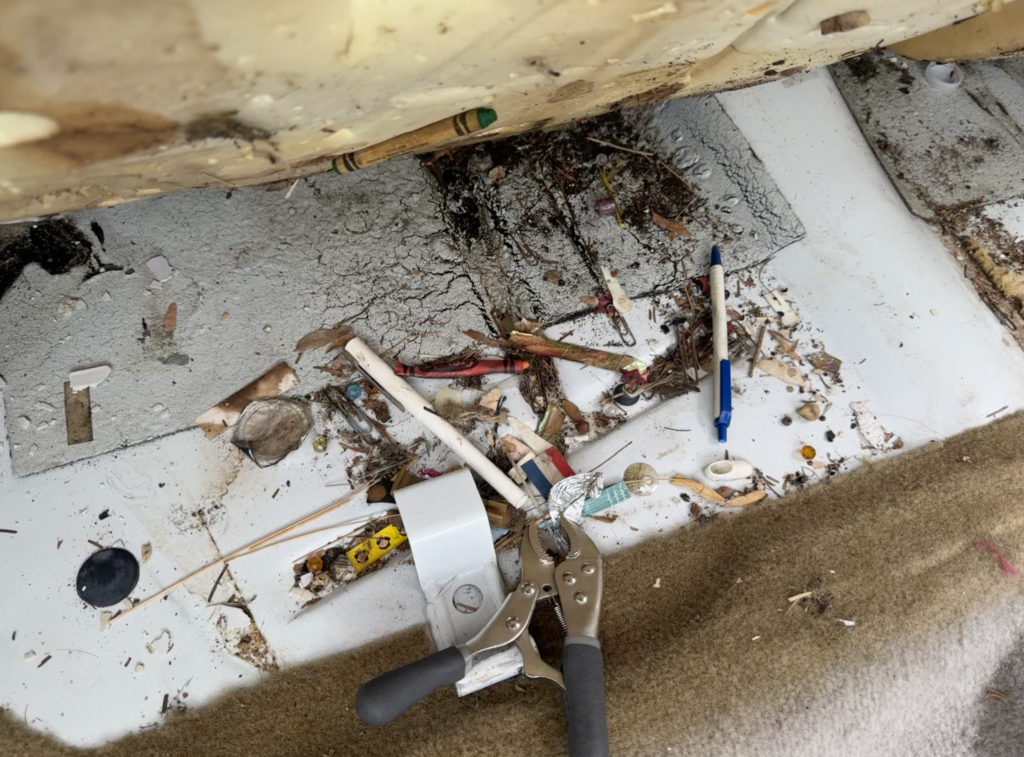
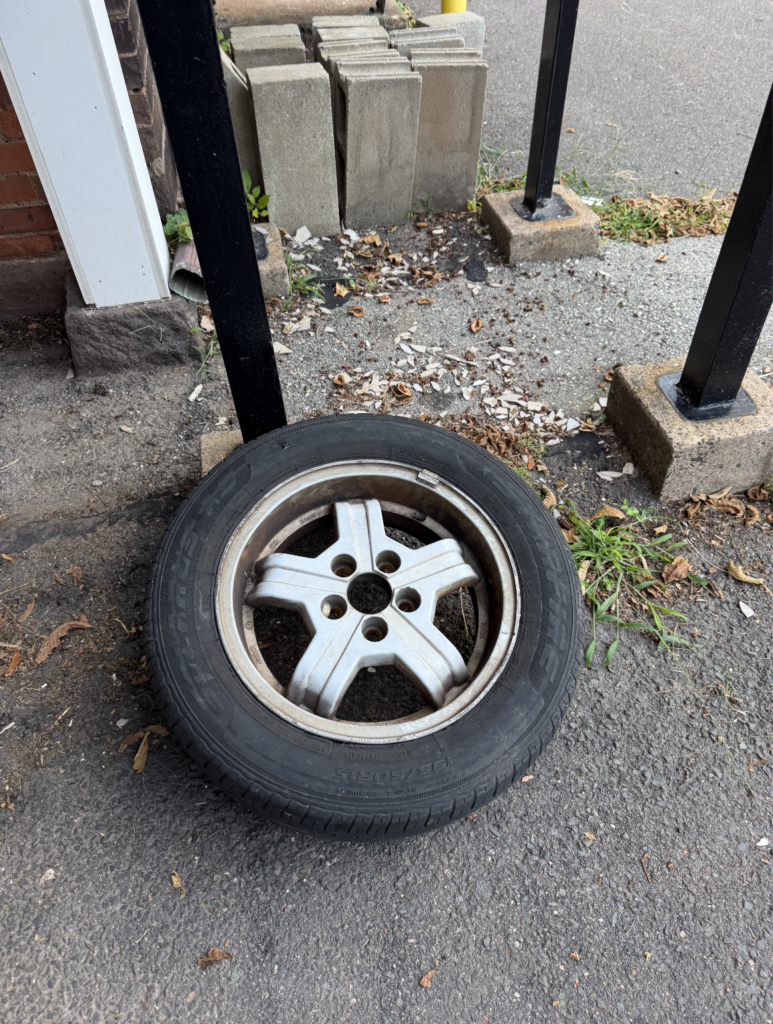
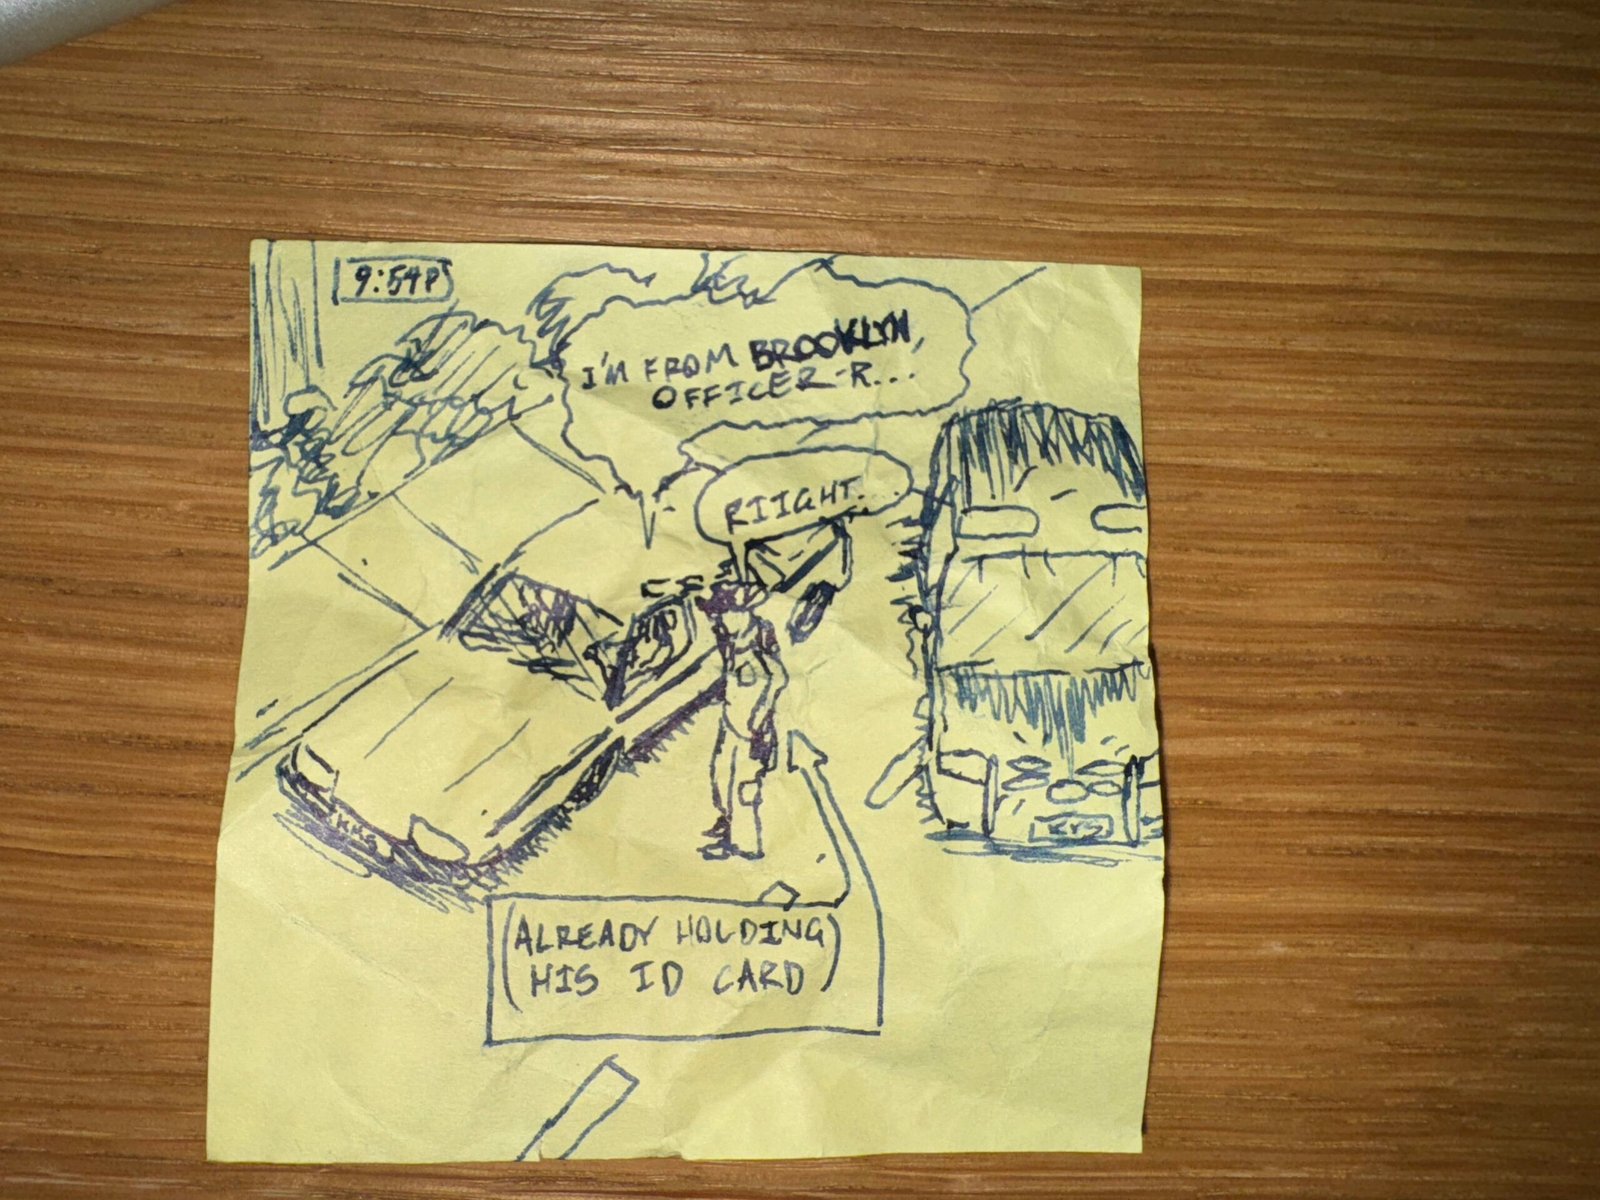
Quinn the Volvo 240, 34, was sent to the crusher on July 20th 2026. 240 ‘Frost’ Quinn, vehicle of six, transporter of many, was sent away last week in West Babylon, NY after a long (and expensive) battle with a failing transmission.
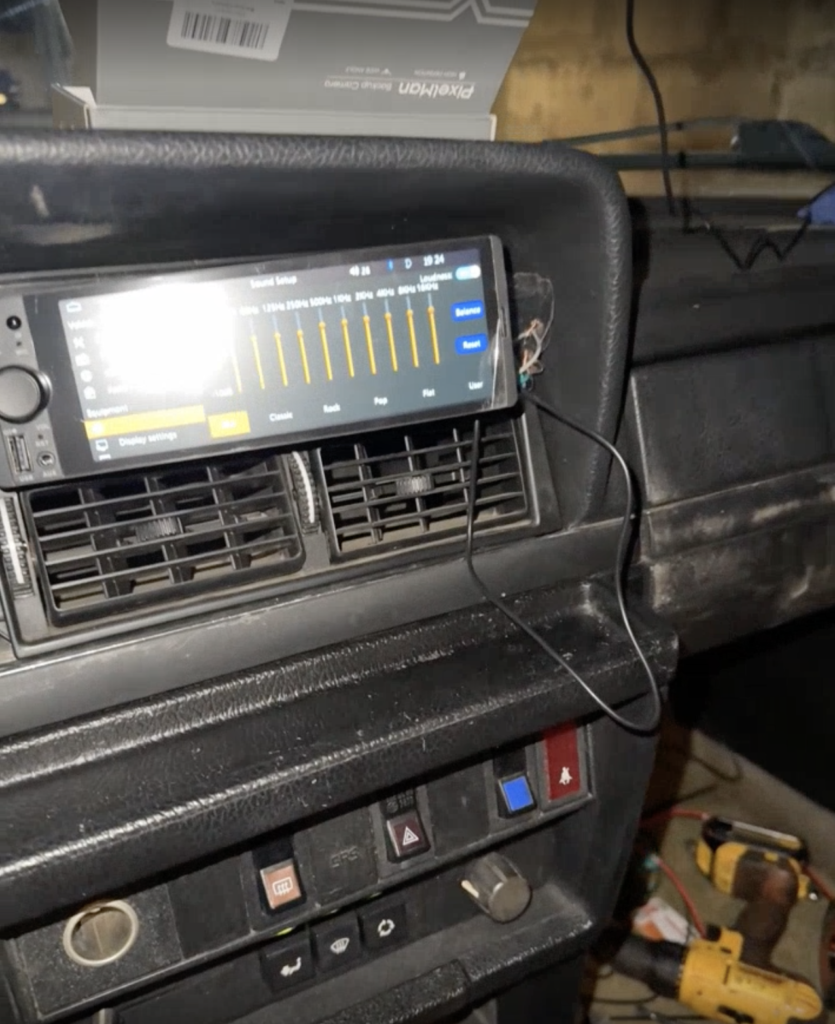
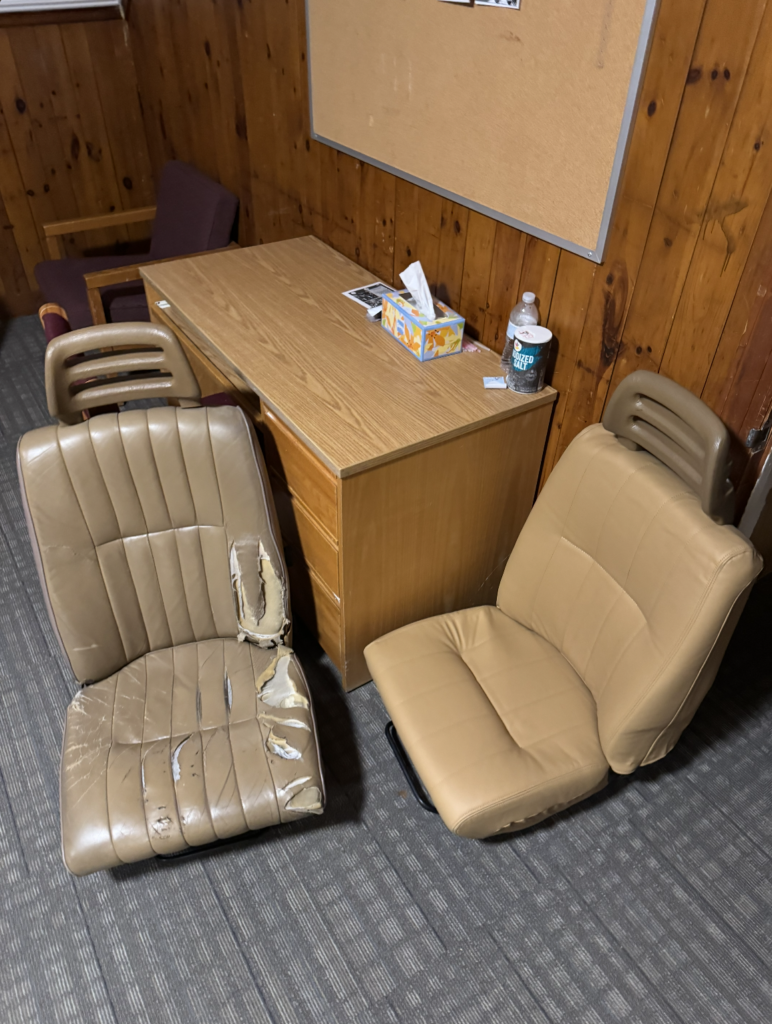
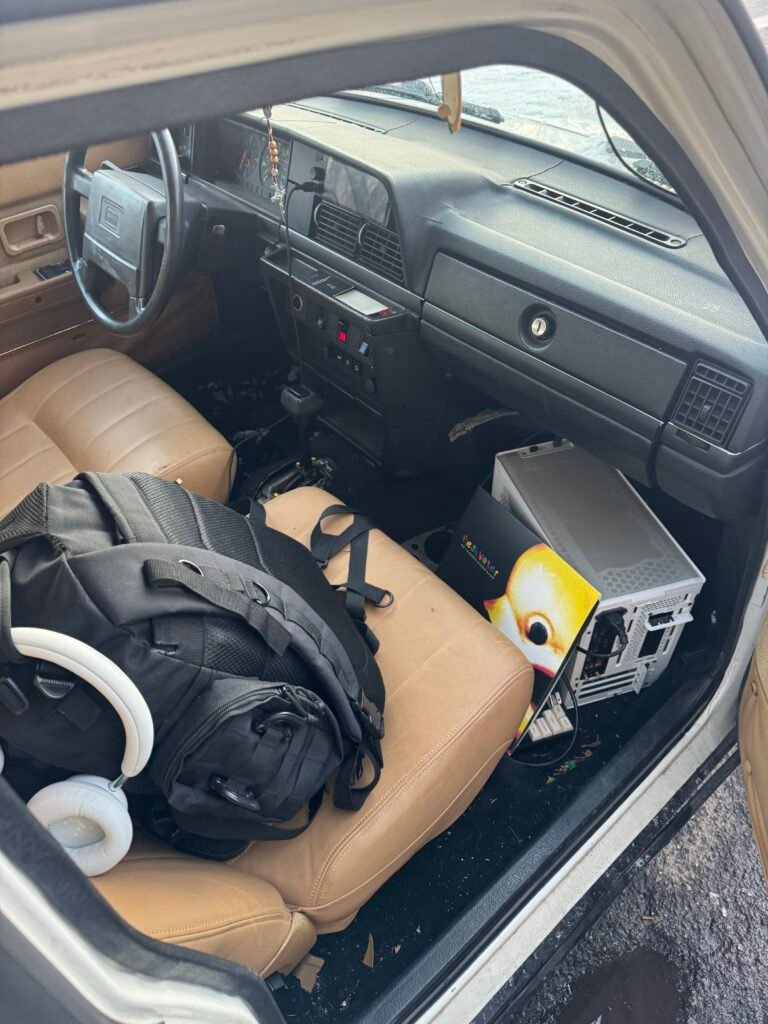
Quinn is survived by two six-inch JBL speakers, a Garmin Drive 53 satnav system (with traffic), and a Miffy citrus-scented air freshener, all salvaged from her body in her final moments.
After being totaled in the early 2000s, Quinn was completely rebuilt by a snowblind, crypto-shilling used-car salesman. After receiving a salvage title, Quinn was sold to her sixth and final owner in Queens a little over a year ago.
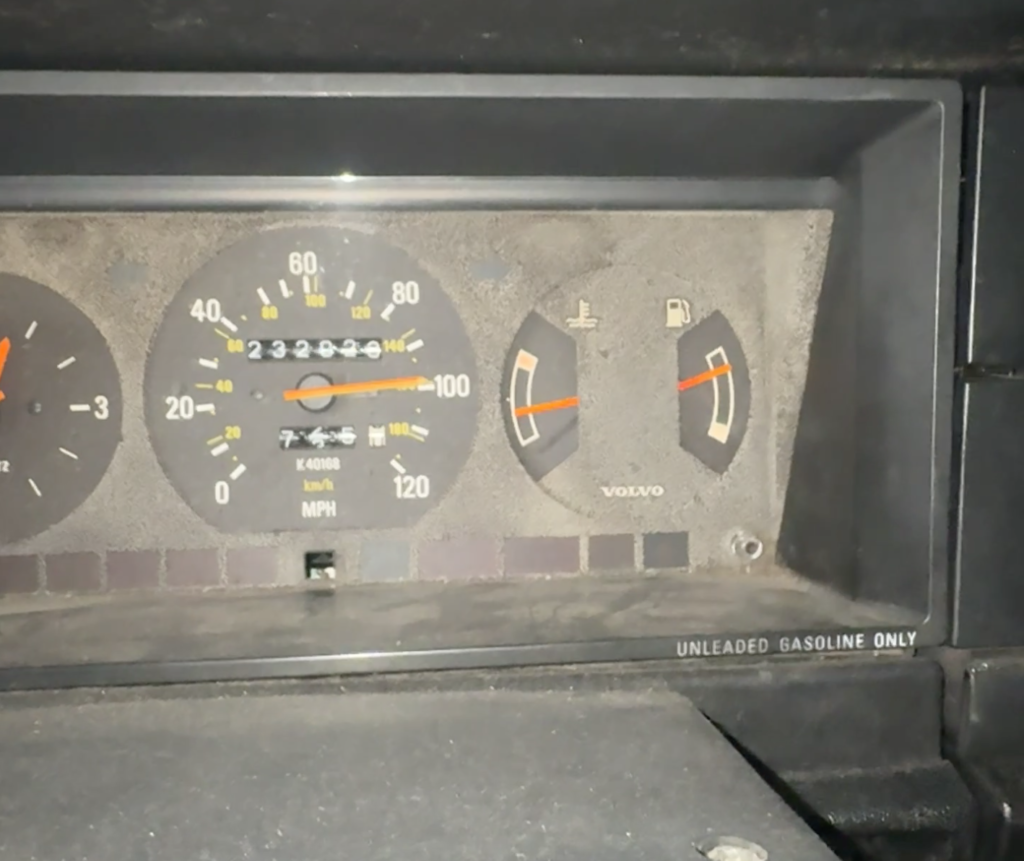
(It could be argued that) During her final moments, Quinn was an effective transporter. Quinn had a top speed of a little over 100 mph, and on good days got a nail-biting 18 smiles to the gallon.
Quinn will be missed by many.